Entrepreneurs, meet the innovative 6-needle embroidery machine that truly means business.

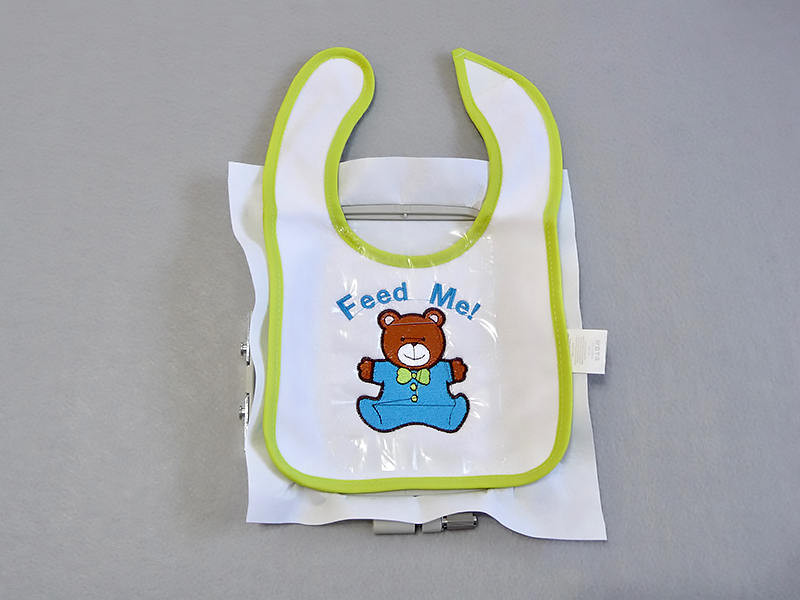
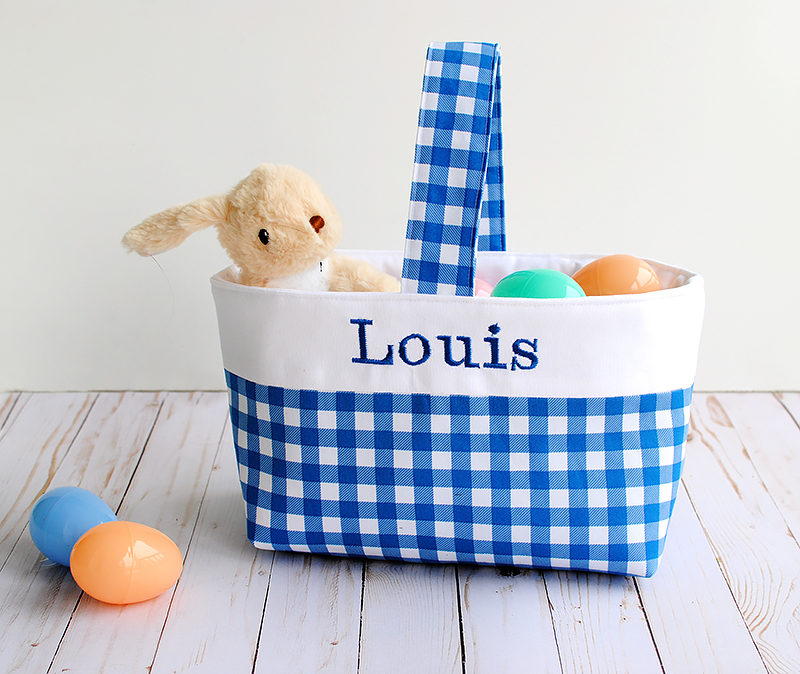
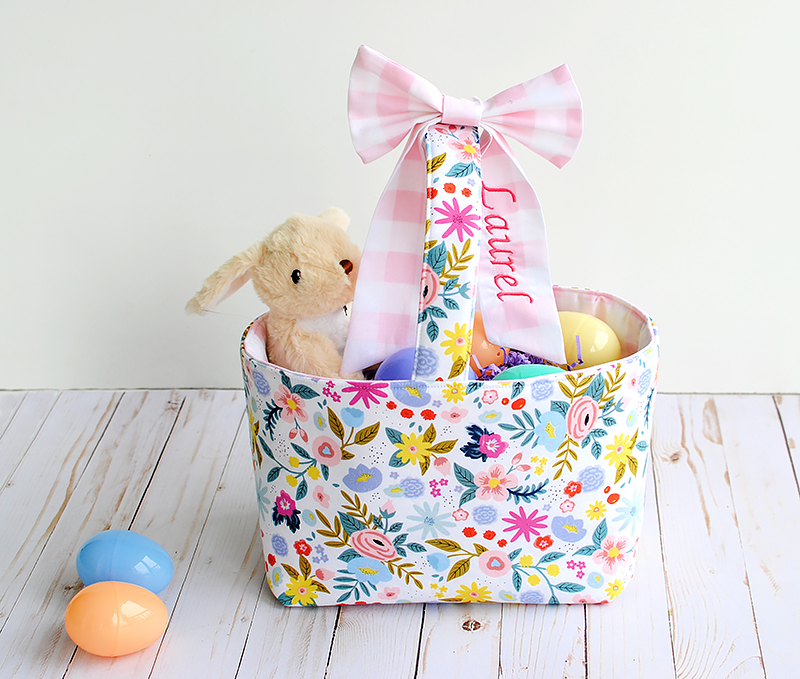
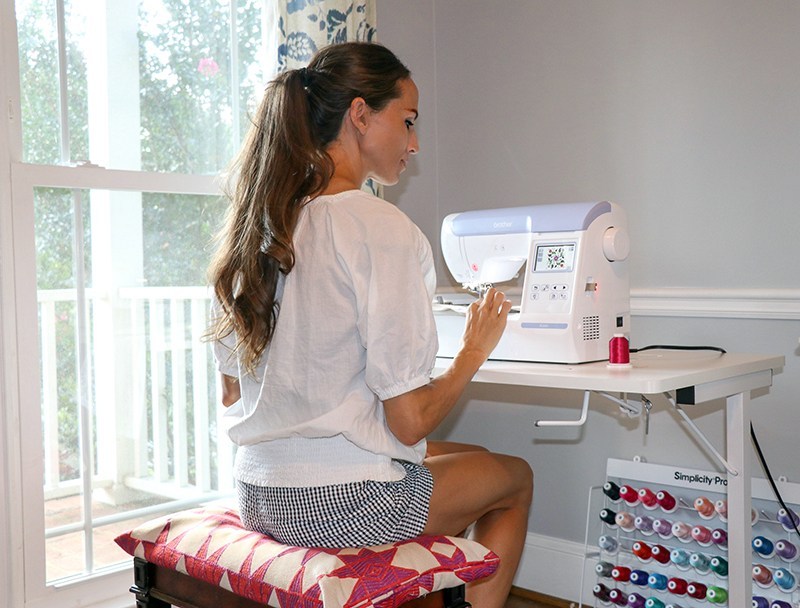
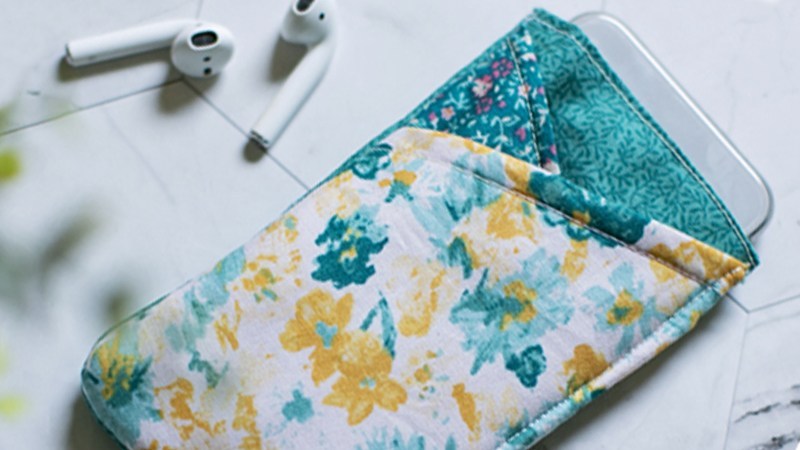
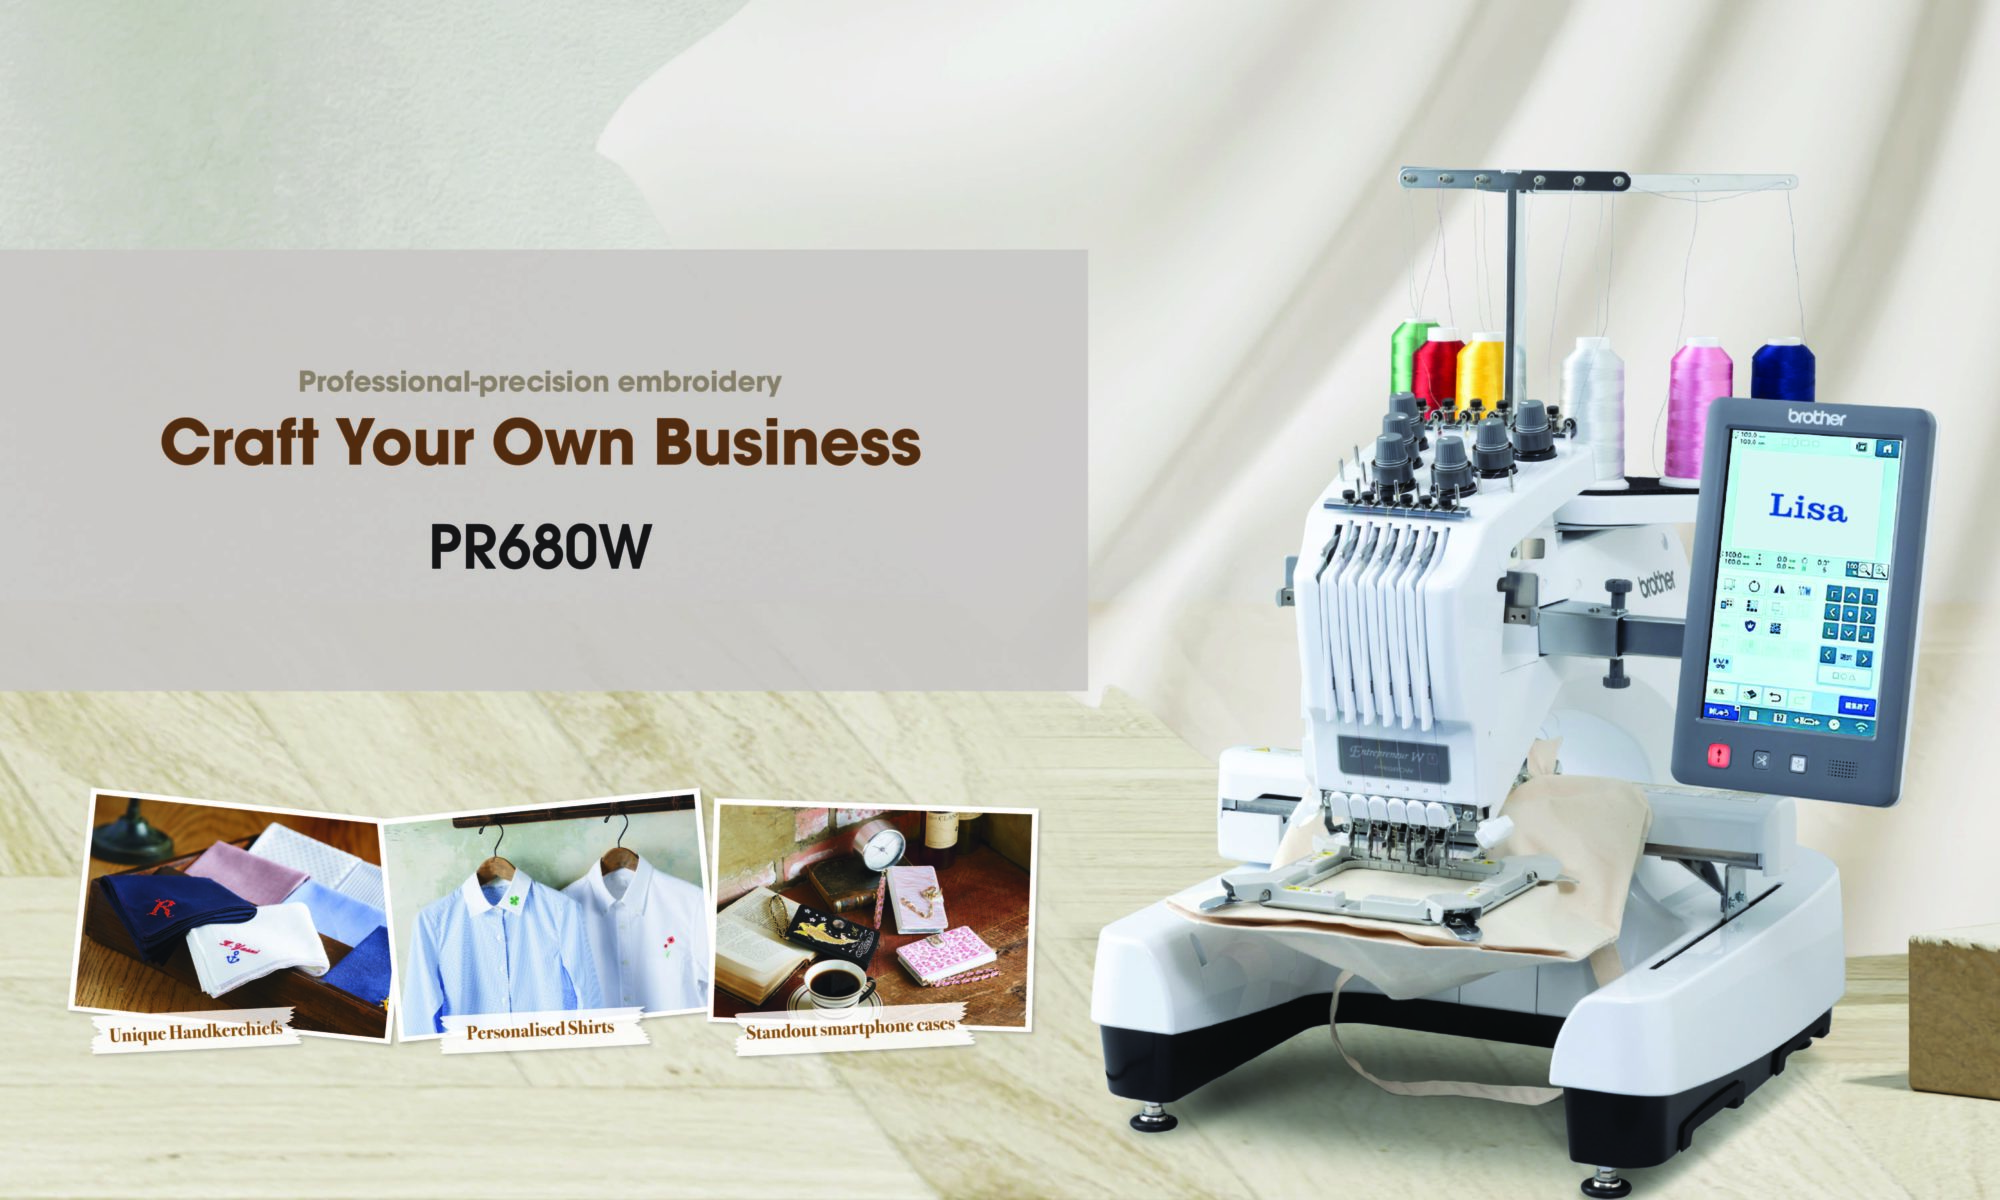
Getting serious about your embroidery business? While a single-needle machine may be adequate for simple personal projects, a multi-needle embroidery machine offers loads more benefits in terms of speed, flexibility, and productivity. So, if you need a solution that can help you create amazing designs on a broad range of items such as caps, jackets, shirts, judo belts, hats, bags and more, then Brother’s new 6-needle offering might be the right investment to help you take off.

Innovations that empower your creative vision

Designed with greater versatility, usability and connectivity in mind, the professional Brother PR680W 6-needle embroidery machine is the perfect match for entrepreneurs or Business to maximise their creative potential and achieve their business goals.

With its 6-needle speed and versatility, the PR680W allows you to work on a generous 200 mm x 300 mm area to give you the confidence to handle projects of different size.

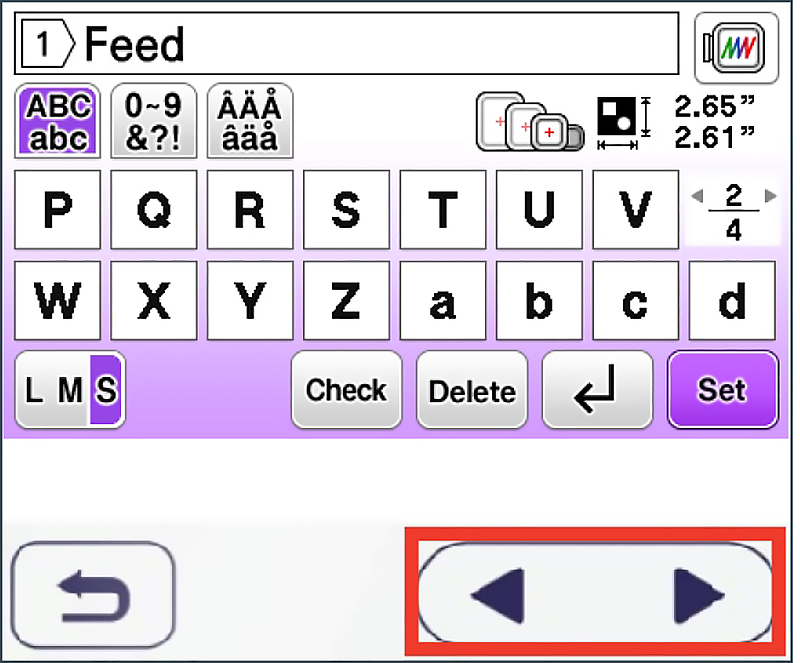
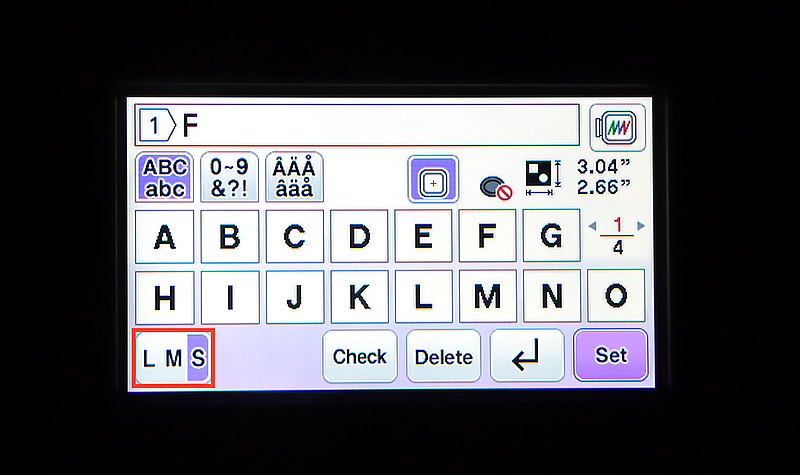
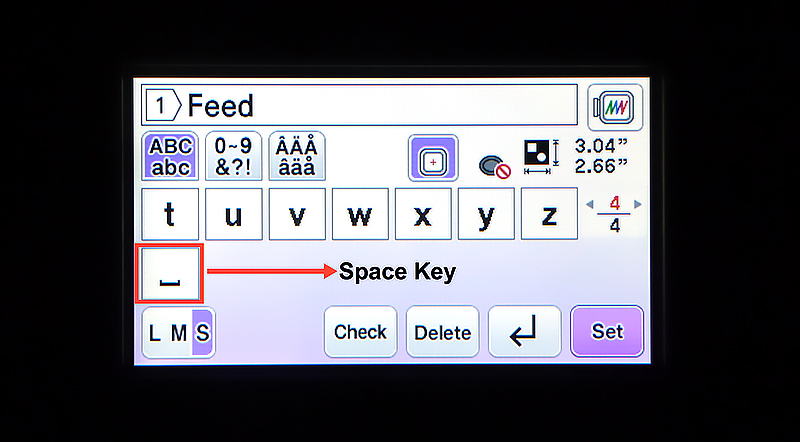
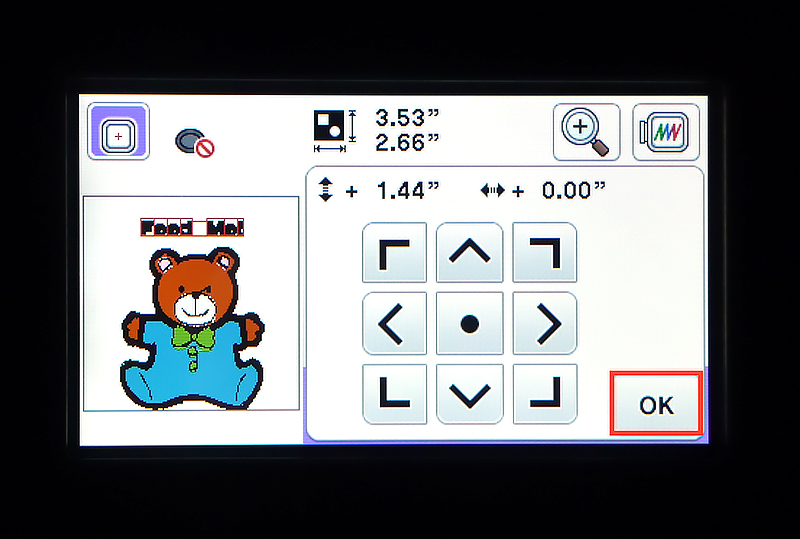
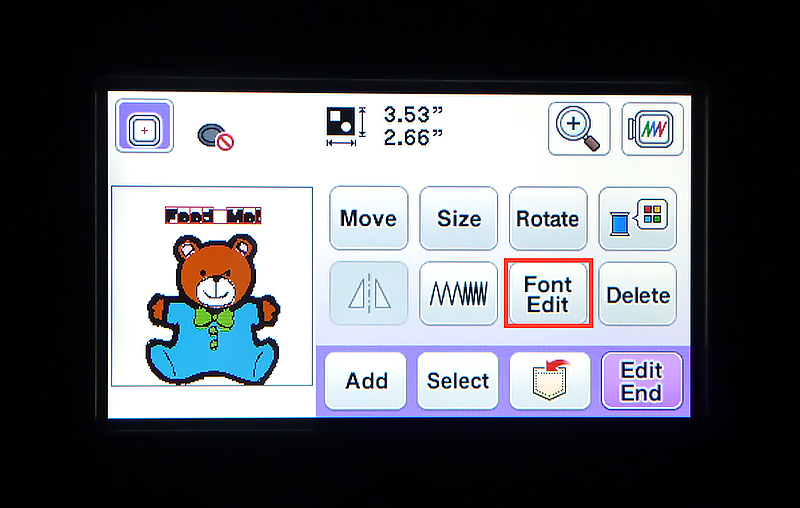
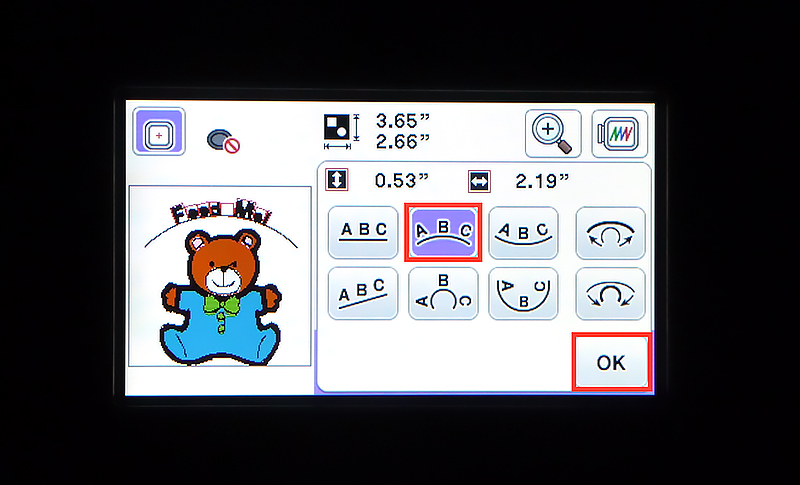
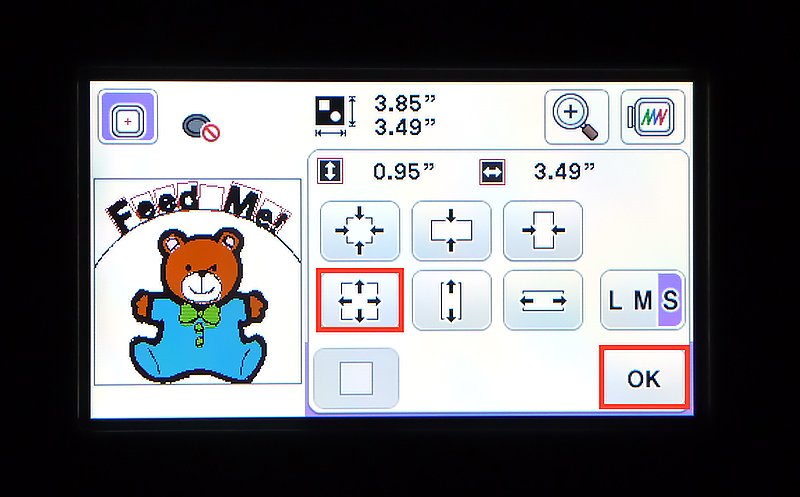
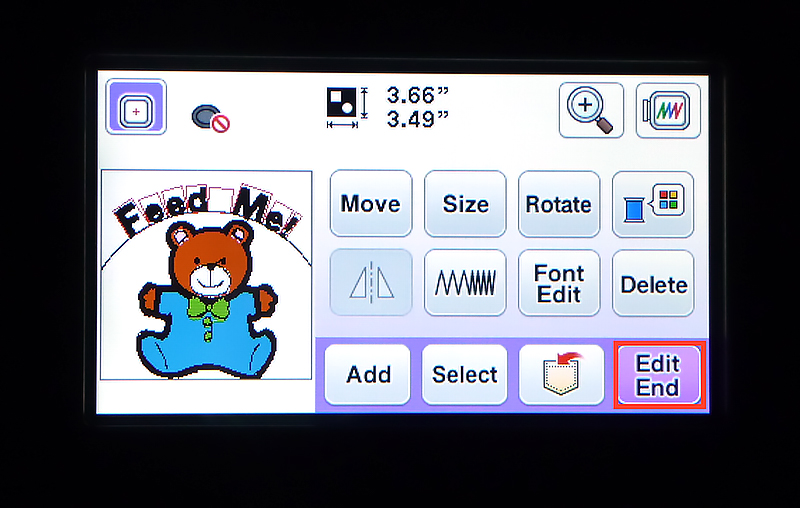
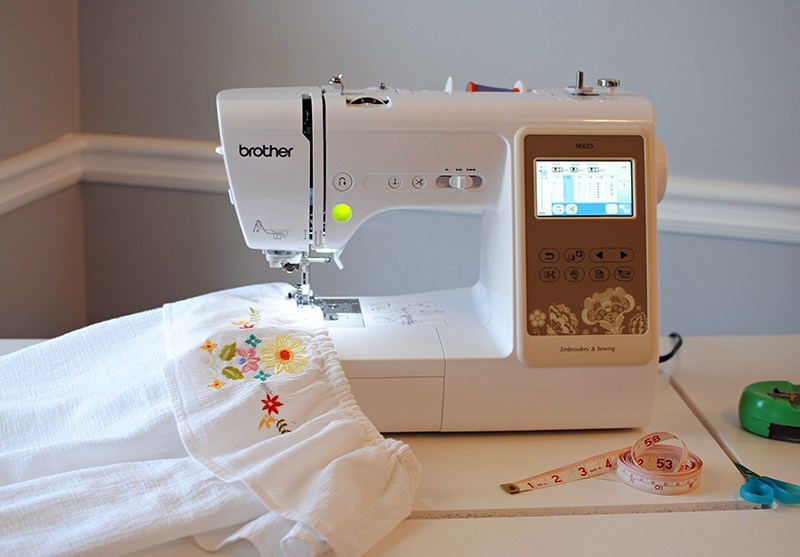
What’s more, getting creative has never been easier! With its large 10.1” built-in high-definition LCD display, more than 100 built-in embroidery designs, and host of quality-of-life innovations that help you to view, position and illuminate your projects, the PR680W is truly a professional tool that takes the hassle out of every creation.

Wireless LAN connectivity allows you to wirelessly send designs from your PC to the PR680W and receive updates automatically. You can even wirelessly link as many as 10 machines with Brother’s PE-DESIGN 11 software1.

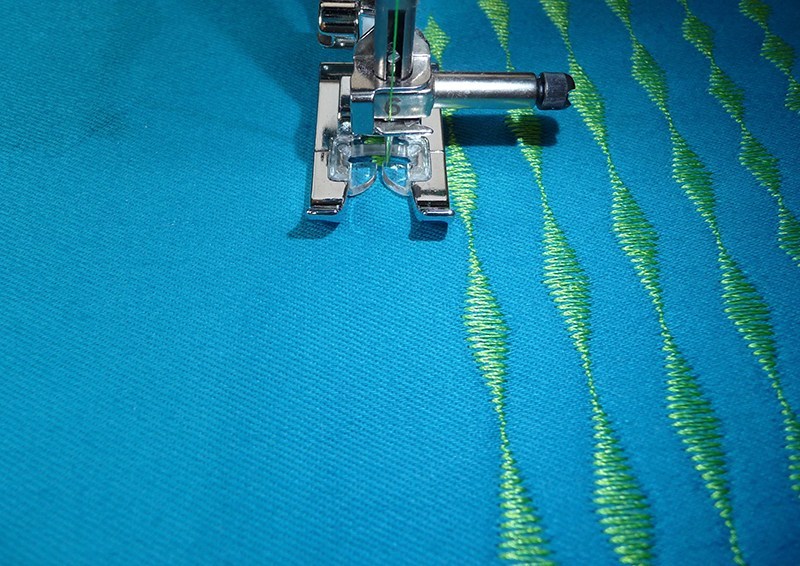
Crosshair Embroidery Droplight Laser ensures precise positioning accuracy and lights up your fabric to clearly view where the needle will drop every single time.

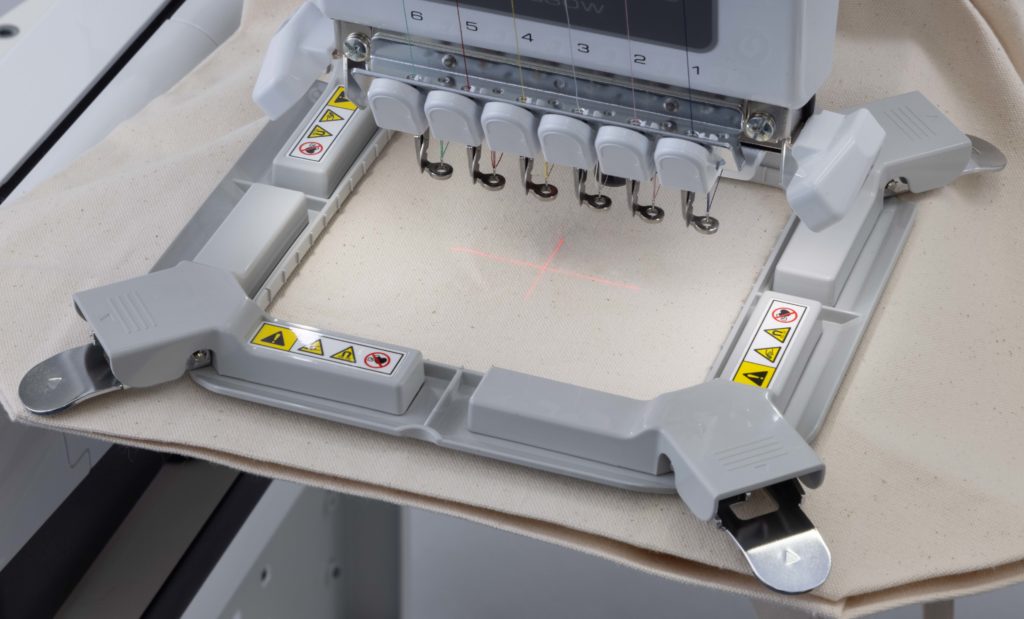
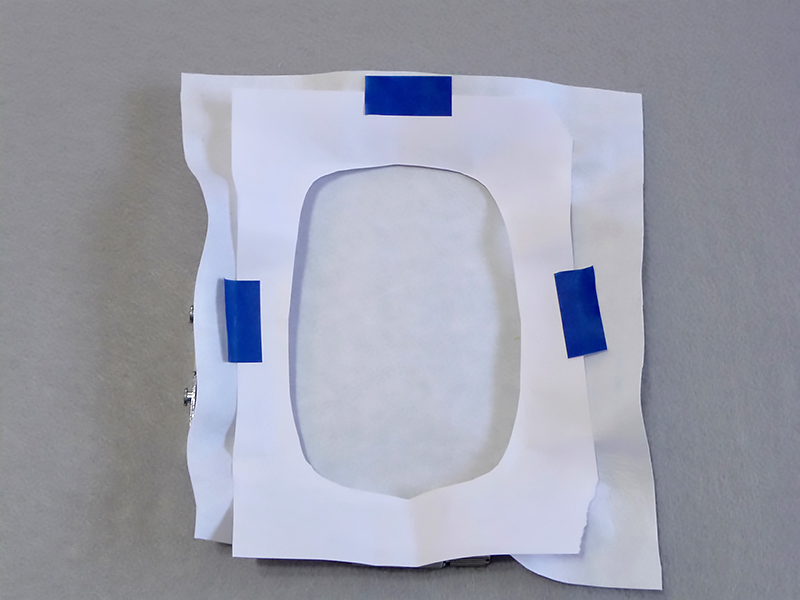
Optional accessories such as Flash Magnetic Frame enables you to quickly snap and position fabrics into place. You can even add a Wide Table accessory for large or heavy items such as quilt tops, towels, blankets, jackets, and rugs.

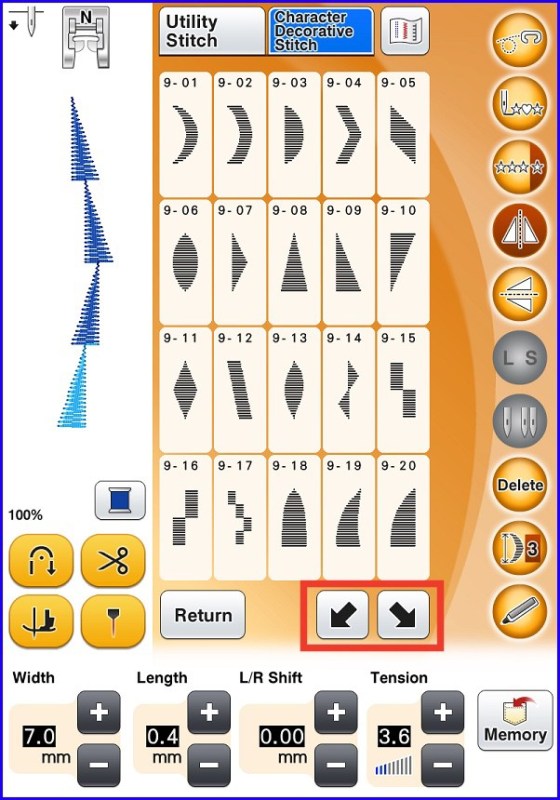
Large 10.1” Built-in High-definition LCD Display makes it easy to preview, navigate, zoom and edit your projects. What’s more, you can view a library of helpful tutorial videos directly on the high-definition display.

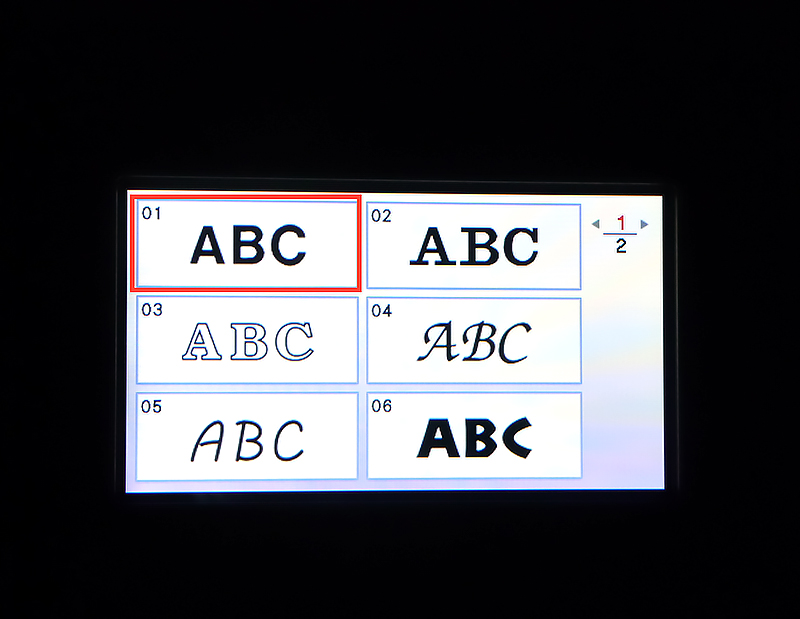
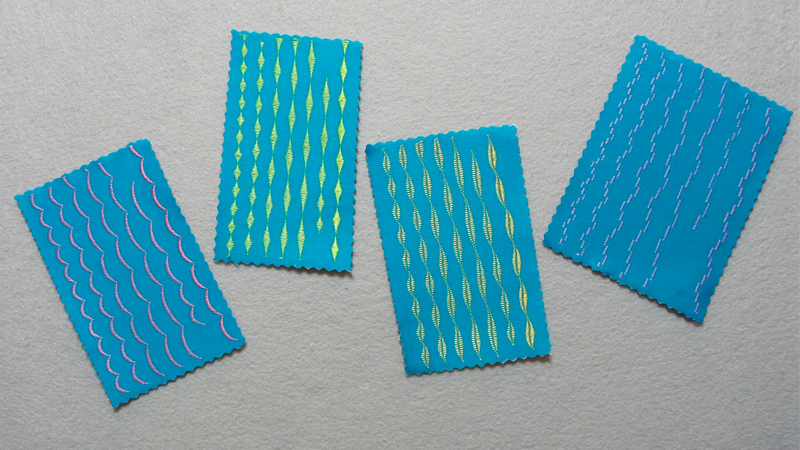
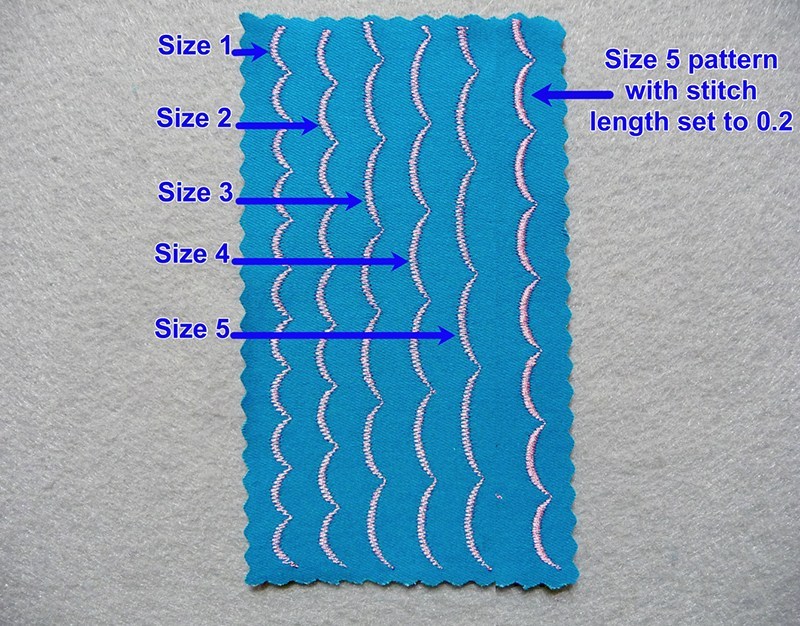
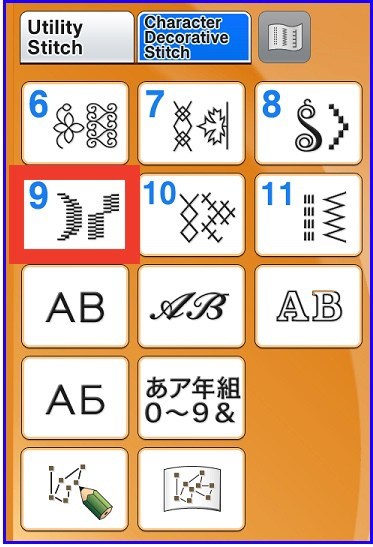
Wide Range of Built-in Embroidery Designs offers a great starting point that can be customised to fit your needs. The full range of built-in fonts allow even greater personalisation options for your clients.

Start your professional embroidery journey today

The Brother PR680W is packed with professional innovations and performance to take your creativity to the next level. To find out more about its features, specifications, and availability, visit here today.

___________________________________________________________

1Additional purchase required.


The easier, smarter way to sew, quilt and embroider.

Innov-is NV2700

Looking to take up a new hobby that lets you explore the creative side of you? How about adding a personal touch to your home, upcycling old clothes, or designing your own unique apparels? With the popularity of home crafts rising in recent years, there’s been a huge surge of interest in sewing, quilting and embroidery worldwide as individuals seek out new ways to express themselves artistically through the creations that are not only fashionable and artistic, but functional and sustainable as well.

Step up your creativity with a machine that does it all

If you are one of those who is considering taking up a new needle craft or looking to take your craft to the next level, then Brother’s Innov-is NV2700 might be the perfect match for you. This versatile combination powerhouse allows you to embark on your quilting, sewing and embroidery adventure with the greatest ease.

Best of all, with its suite of innovative features, next-gen connectivity and intuitive user-experience, this talented performer is a great choice for newcomers and advanced users alike!

A stitch above the rest

While the Innov-is NV2700  comes packed with the latest features and innovations, it has also been designed to make it easier than ever before to bring your inspirations to life – and to share it all with your friends and family. These include highlights such as:

A generous working area of 260 x 160mm that allows you to to tackle large projects with ease or provide a little more breathing room when you take on elaborate projects.

291 built-in stiches including comprehensive list of utility, decorative and buttonhole stitches that would suits all your projects. You can even create your own unique stitch patterns from scratch, or edit the built-in stitches as you see fit, and save it all on your machine for future use.

Quick and easy data transfer1 using Design Database Transfer lets you send designs wirelessly from your PC to your machine when connected to a wireless network. With wireless LAN connectivity, you can wirelessly transfer data as well as keep up with Brother’s software developments.

Never run out of ideas with the Brother Support App that’s loaded with useful “how-to” videos to help inspire you and get your creative juices flowing.

Large 4.9” HD LCD Touchscreen makes it effortless for you to navigate the user-friendly interface and view and edit your design in vibrant colours.”

Start your creation journey today!

Packed with all the features you could ever want to start your quilting, sewing and embroidery journey, the Innov-is NV2700 is truly a capable and flexible machine for the modern home creator. Best of all, with Brother’s proven track record for build quality and customer service, you can count on an uncompromisingly reliable partner for years to come. Find out more about the machine now.

Free Design: Baby Bear Bib

~Joanne Banko, Brother Sews Ambassador

This month we’re featuring a few projects for the precious little ones in your life, starting with a cute embroidered baby bib. The Brother Free Design for this Month is an adorable bear design. It’s sized just right for most baby bibs. Read through this tutorial and you’ll learn about font editing features found in many Brother sewing machine models. You’ll also find tips for improving your embroidery skills throughout the instructions. While your Brother embroidery machine may not look exactly like the images shown here, I suggest you compare names of the keys on the screen to those found in your own machine to learn more about these features and put them into practice. Exploring embroidery font features makes this project perfect for sewing beginners and beyond. Are you ready?

Materials and Supplies:

  • Brother sewing and embroidery machine. Note: Machine featured in this project is the Brother NV180
    . You can use any machine with 4-inch hoop capability.
  • Brother Embroidery Threads and Bobbin Thread for embroidering.
  • SA5929 Brother Cut-Away stabilizer cut to fit hoop size.
  • Temporary adhesive spray specifically for machine embroidery.
  • Plain low nap baby bib, sized large enough for featured design.
  • Brother Free Design for March
  • See Figure #1a for original thread color and stitch information. See Figure #1b for modified colors.
Figure #1a
Figure #1b

Basic steps for creating embroidered baby bib:

  • Prepare bib for embroidery and hoop with stabilizer.
  • Create design using edit mode of sewing machine for changing size and configuration of lettering.
  • Embroider design and remove stabilizer.

1. Transfer design to machine. Create a combination design with bear and lettering as follows: Select design, touch Set and then touch the Move key. Use arrow keys to move design to bottom of hoop and touch OK. See Figure #2a and Figure #2b.

Figure #2a
Figure #2b

Touch Add and select a block style font from the font menu. See Figure #3a and Figure #3b. Tip: Block style fonts work better than fonts with thin columns on this low nap fabric.

Figure #3a
Figure #3b

Program lettering using small font size, using arrows on machine to navigate through the lettering screens to select both upper and lower case letters. Add a space between the two words, and an exclamation point at the end. Tip: Be sure to select S for small, right after selecting the first letter. See Figure #4a, Figure #4b, Figure #4c, and Figure #4d.

Figure #4a
Figure #4b
Figure #4c
Figure #4d

Tip: I like to start with smaller, rather than larger lettering and then use the sizing feature to increase the lettering size to fit the hoop area. This is especially helpful when using the Array feature, as larger lettering will sometimes prevent you from using various array functions. Here is my formula: Start small, add the array, and then change sizing last. 

Set your lettering, touch move key, and use arrow keys to move lettering above the bear head. Touch OK. See Figure #5.

Figure #5

Touch font edit key. Touch array key. Curve lettering over bear head. Touch OK, then OK again to return to embroider edit screen. See Figure #6a, Figure #6b, and Figure #6c.

Figure #6a
Figure #6b
Figure #6c

TipThere are many more options for editing embroidery fonts. Watch for more in future tutorials! 

Touch size key and increase lettering until the machine stops at the maximum size. Touch OK. See Figure #7

Figure #7

2. End editing. Center combination on the screen, then touch Embroidery. See Figure #8a and Figure #8b.

Figure #8a
Figure #8b

3. Hoop cut-away stabilizer and lightly spray with adhesive, following manufacturer’s directions on the can. Note:It is very important to avoid over spraying. Tip: To keep adhesive from getting on the hoop, I like to cut a window in a piece of scrap paper and tape it over the hoop to protect the edges. Spray over paper, then remove and discard. See Figure #9.

Figure #9

4. Center bib in hoop, securing it to the tacky surface. Place water-soluble over the bib to help tame the nap and keep the design from sinking in. Tip: Lightly dampen the outer edges of the stabilizer to make it tacky and it will adhere to your fabric. Embroidery design on bib. See Figure #10

Figure #10

5. Remove from hoop and trim stabilizer, leaving a margin of ½ to 1-inch of stabilizer around the design. Tip:Bonding from temporary spray adhesive will usually disappear within 2 to 5 days. To dissipate earlier than that, iron the sprayed fabric with a warm dry iron. This type of adhesive does not wash out. You’ll want to make sure spray adhesive is gone before thoroughly washing out water-soluble as recommended on the package. 

You are finished with embroidering your baby bib! Enjoy!

Options and ideas:

Feel free to sew your own multi-layer bib. Embroider on the top piece then add a lining to hide stitches on the wrong side.This article has been republished from Brother Sews USA.

The original article can be seen here: 

http://blog.brothersews.com/free-design-of-the-month/free-design-baby-bear-bib/

Brother FS60X the all-round sewing machine

Brother Singapore has launched – a new computerised sewing machine, FS60x, that is designed to enhance -user experience for every sewing project.

Whether you are a beginner who has just picked up your sewing interest or a sewing enthusiastic who is set to complete a complicated project, a good sewing machine is your best friend.

This basic computerized sewing machine takes heavy duty sewing seriously. From metal frame interior to powerful computerized motor, it is designed to handle stretchy materials and denim with ease.

Stitch through layers and layers of denim without straining the extra Tough’s specially geared motor

It is also easy to operate with features such as auto needle threading, one-step buttonhole sewing and sliding sewing speed controller, making it an ideal sewing companion for sewers of all sewing experience.

The FS60X comes with 60 built-in stiches and 7 one-step buttonholes styles which make it perfect for a variety of sewing projects.

A quick glance at the specification of FS60X:

  • LCD display
  • Quick-set drop-in top bobbin
  • 60 built-in stitches
  • 7 one-step buttonhole styles
  • Advanced easy needle threading
  • Slide sewing speed controller
  • LED sewing light
  • Fast bobbin winding system
  • 1 year carry-in warranty

An optional accessory – the extendable wide table that can be attached to the machine, so that you can have a larger working space. Not only that, but it also allows easier handling of wide cloths during sewing.

This high performance computerised sewing machine is made with heavy duty meal frame for improved durability and reduced vibration.

What makes it better?  Online support is also at your finger tip.

  • Tutorial’s video
  • Operation manuals
  • Stitch chart application
  • Needle and thread suggestions for different fabrics.

FS60X retails at S$428 with GST. Explore the all new Brother FS60X here.

Sew a Fabric Gift Basket

With Spring just around the corner, I thought I’d share how to sew a fabric gift basket. These homemade baskets make great gifts for all different occasions, holidays, and themes! I sew these DIY fabric baskets for everything from baby showers to teachers’ gifts and more. Add machine embroidery for a nice custom touch. Use these homemade fabric baskets for custom storage bins as well! Get the tutorial below on how to sew your very own fabric gift basket.

Supplies:

  • FS60X
  • NV180 was used for the embroidery
  • 1 yd. cotton fabric exterior
  • 1 yd. cotton fabric liner
  • 1-2 yds. fusible fleece
  • General sewing/cutting supplies

Cutting:

Exterior: 2 pieces that measure 17” (wide) x  13” long

Liner:  2 pieces that measure 17 x 13”

Fusible Fleece: 4 pieces that measure 17 x 13”

Strap: 1 piece 17 x 6”

Fusible Fleece: 17 x 6”

For the 2 piece (Blue Checkered)

Exterior: Top section: 17 x 3 x  ¾”

Exterior: Bottom section:  17 x 10 ¼”

The rest of the pieces measure the same as above.

Fuse the fusible fleece to the wrong side of all pieces.

Use a grid ruler and mark off a 3” square at the bottom corners for both exterior and liner and cut.

Place exterior and liner pieces right sides together. Stitch the sides and bottoms with a 1/2” seam allowance.

For the corners: With right sides together, connect the seam so it’s centered to the other side and clip or pin.

Stitch together and repeat for all corners. (1/2” seam allowance).

The bottom should look like this when complete.

Now let’s sew the handle.

Fuse the fleece to the wrong side.

Fold the sides into the center and press.

Fold in half so the edges are together and press.

Top stitch down both sides (about 1/8” from the edge).

Find the center front and center back  of the basket and mark. Place the handle right sides together with the basket over those marks and sew (1/4” seam allowance).

Flip the basket so right sides are out including the handle.

Place the basket into the liner so the right sides are together. Attach seams to seams and pin or clip all the way around.

Sew ½” seam allowance all the way around the edge leaving a 3” opening just an inch off one of the handles. This will be the opening to flip right sides outs.

Flip right sides out through the opening.

Press the basket. Top stitch with a 3.0 stitch length and just off the edge (1/8” or so) around the top edge of the basket, closing the opening as well.

Now fill your homemade gift basket with all sorts of goodies. I sew these fabric baskets for gifts, but they’re also great to use as homemade storage bins. You can add some machine embroidery to customize them. For the blue checkered basket, I embroidered the name on the top section. You can use this tutorial here for that portion. I also embroidered a sash to tie around the floral basket. Make these for all different occasions: I love sewing them for party favors, Mother’s Day gifts, and more. Use your imagination and take your homemade gift baskets to the next level of fun.

This article has been republished from Brother Sews USA.

The original article can be seen here: http://blog.brothersews.com/projects/sew-a-fabric-easter-basket/ 

Sewing tips and ideas

Sewing Machine:

If you don’t have a sewing machine it’s a good idea to find one that best suits your sewing interests. Do you plan to sew garments, quilts, clothing, or something else entirely? What type of materials do you prefer working with? Are you interested in embroidery? So many options, and Brother has all the different machines to fit your needs. Also feel free to reach out to us ambassadors, we are happy to help!

Use your resources:

If you’re a hands-on learner like me, I suggest you look around your area for sewing studios that offer classes and camps. These are great for everyone! It’s ideal to have a space and time set up to learn without distractions.  I taught sewing for adults, and it was such a great way to learn. Within a week, students went from threading their machines to sewing simple projects (zipper pouches, tote bags, doll clothes).

Another great option is to learn sewing virtually! There are many resources offered online through sewing blogs and sewing websites. Check out Stitching Sewcial, where you’ll find step-by-step sewing tutorials, patterns, and tips to use that range from beginner to expert.

Start small:

It’s a good idea to start with a simple project before diving into a more advanced one. I remember one of my first sewing projects was to pick a pattern and fabric to go with it.  I went with a dress that required all the fixings and on top of that picked a plaid chiffon fabric.  BOTH of these were not “beginner friendly” and I found myself in over my head.  I was 12 and I can remember the frustration I felt when sewing that dress. Perhaps a gathered elastic skirt would have been a better first project at that time.

Consistency is Key:  I like to say “a little each day goes a long way!”  It takes time to hone your skill. Even the busiest of days I try to find 25-30 minutes to give to my craft. Whether it’s browsing a sewing blog for tips on using a cover stitch machine or laying out a sewing pattern and prepping to cut the next day. It surprises people how long even a simple sewing project can take and this is how I like to break it down.

Don’t skip the in between steps: When I first started sewing I would speed through my project like it was a race! I would skip the “annoying steps” I felt were unnecessary like pressing, and pattern markings, etc. These steps are as important as the sewing itself and can be the difference between a wobbly hem and a professional looking garment. While it may not get done as quickly you will see the difference in the overall result.

No rules:

At the end of all of this there are no rules. Have fun and be creative. Sewing is a personal journey after all and you will find your own ways that work for you. Perhaps “that fabric doesn’t work with that pattern” but it never stopped me anyways.

This article has been republished from Brother Sews USA. The original article can be seen here:http://blog.brothersews.com/sewing/national-sewing-month/

Quick Tip: Exploring Options for Elongation Stitches

Elongation style stitches are much more fun than their rather technical name implies. The term elongation simply means that patterns in this category of decorative stitches can be re-sized in a range from 1 to 5. As they are re-sized, the pattern or shape of the stitch is maintained. Examples in the photo above show patterns stitched out in all the different sizes. Although the size varies, the density remains the same and the general shape of the stitch does as well. Depending on the size and the stitch selected, different sizes can produce interesting variations. In addition, changing the length of the stitch makes the pattern denser but also shortens the length of the pattern. One of my favorite tricks is to select a larger size pattern and then shorten the stitch length. This results in a fuller looking stitch that is a bit shorter than the original pattern. See examples of sizes below in Figure #1b:

Figure #1b

You’ll find these 7mm satin style elongation stitches built into many Brother machine models. They’re located in the Character/Decorative stitch menu of the machine. See examples of stitch menus below in Figure #2a and #2b:

Figure #2a
Figure #2b

The size key allows for elongating the stitch in a range from 1 to 5.

Some machine models include an additional feature for creating step stitch patterns. This technique allows for moving stitch patterns left and right to sew wide patterns with multi-directional stitching. See Figure#3 below:

Figure #3

Remember to change to presser foot “N” when sewing these decorative stitches. This foot has a groove on the underside, so it flows easily across bulky satin stitches. See Figure #4.

Figure #4

It’s also important to be sure fabric is firm and well stabilized before sewing these decorative stitches. A layer of tear-away stabilizer is a good choice for many situations. Be sure to test stitches on scraps before sewing your actual project. Have fun experimenting with elongation stitches, trying different sizes, patterns, and combinations. Enjoy!

This article has been republished from Brother Sews USA. The original article can be seen here: http://blog.brothersews.com/tips-tricks/elongation-stitches/

Get Creative with a Customized Cell Phone Case

Need a little pizazz? Time to get busy and dial in your own cool style with a customized cell phone case!

Supplies:

Note: Smartphone sizes change so quickly, so we recommend basing measurements to the size of your
preferred phone model. This sleeve is supposed to fit very snugly to keep the phone from falling out. If you want to make it larger so it does not fit so tightly (or to accommodate a larger phone in the future), you could add a tab closure to the top.

Steps:

1. Choose 3 different types of fabric—one will serve as the main pocket of your phone case and the 2 layers will be for your cards and earbuds. You will want to cut the main pocket to be twice as wide as your phone (with case if you keep it in a case) plus about 2-3 inches. For example, the phone we used here is 2.5 inches wide, so we cut the fabric to be 8-9 inches wide. The other 2 pocket layers will be 2-3 inches plus your phone size.

2. Cut 3 piece of felt the same size as your phone and pin one to the back of each piece of fabric, with the long edges pinned over. This will add an extra layer of protection.

3. For what will be the 2 smaller front pieces, fold the 2 layers on a diagonal and sew along the top edges. Keep the larger back piece unfolded for now.

4. Sew the two front-pieces along each side at one edge of the back piece. Then, fold over the back piece to
cover the entire case.

5. Sew along the bottom and sides, then cut off any extra fabric from the sides after you’re finished sewing. Turn inside out to reveal!

6. Grab your cards, phone and earbuds. You’re ready to go!