With Spring just around the corner, I thought I’d share how to sew a fabric gift basket. These homemade baskets make great gifts for all different occasions, holidays, and themes! I sew these DIY fabric baskets for everything from baby showers to teachers’ gifts and more. Add machine embroidery for a nice custom touch. Use these homemade fabric baskets for custom storage bins as well! Get the tutorial below on how to sew your very own fabric gift basket.
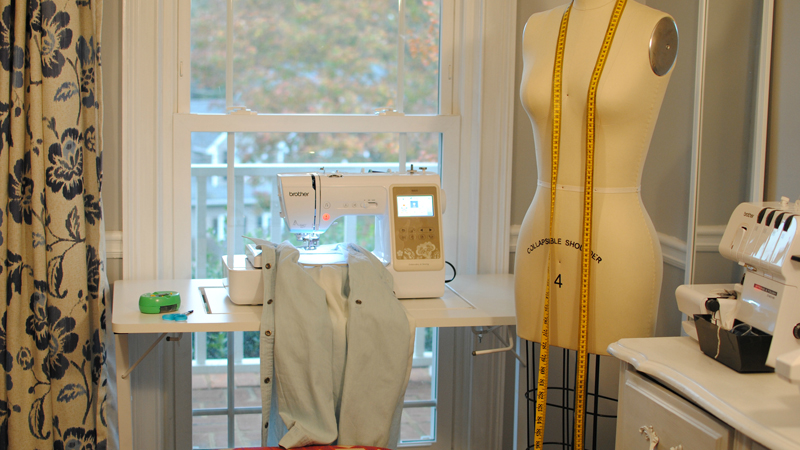
Supplies:
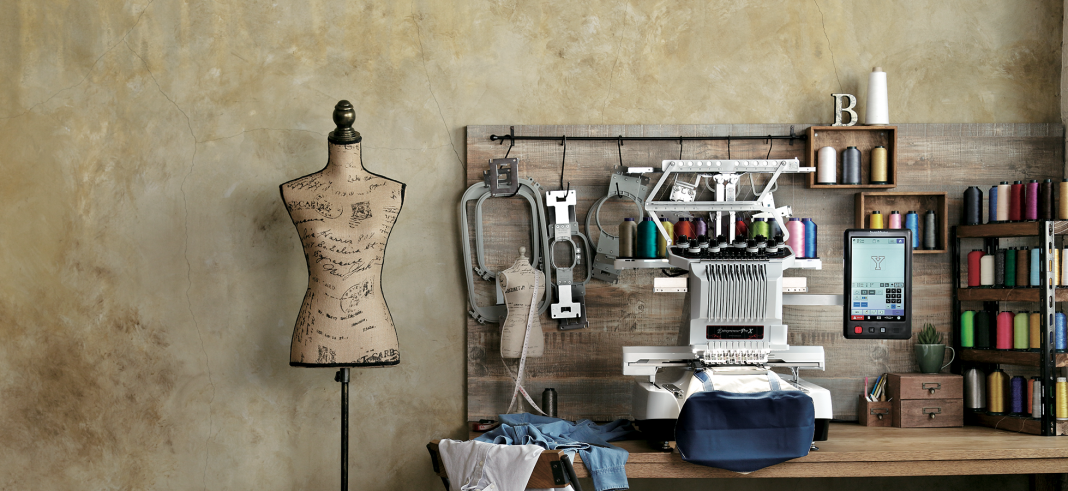
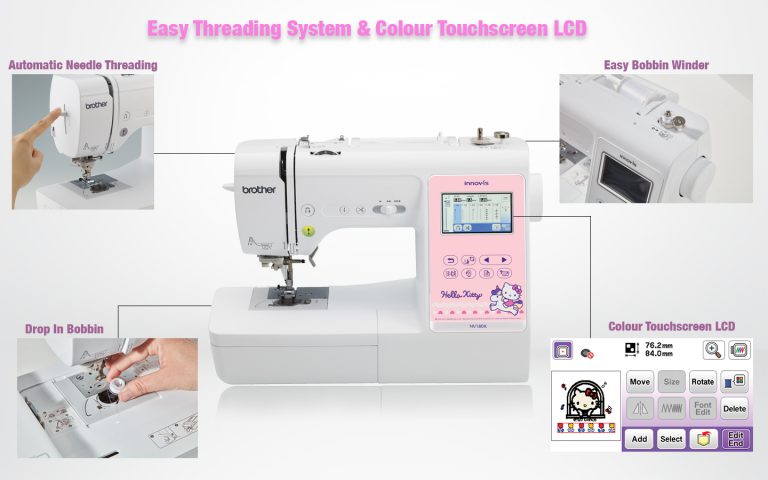
- FS60X
- NV180 was used for the embroidery
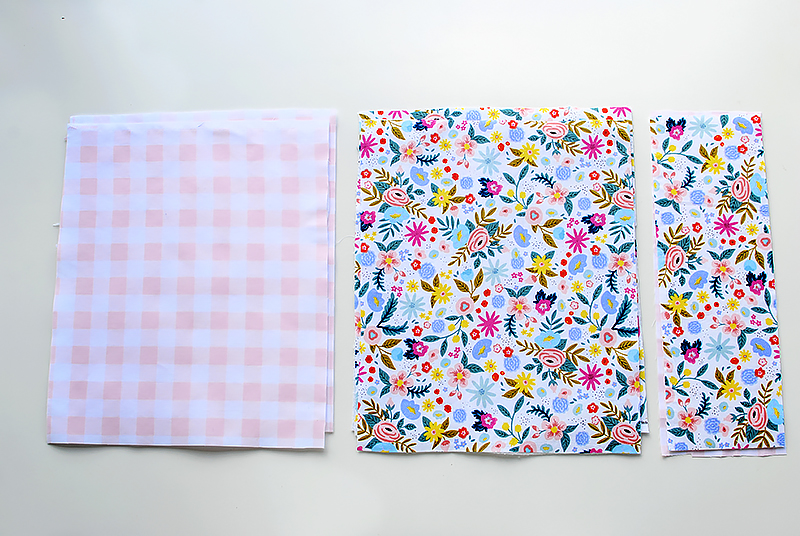
- 1 yd. cotton fabric exterior
- 1 yd. cotton fabric liner
- 1-2 yds. fusible fleece
- General sewing/cutting supplies
Cutting:
Exterior: 2 pieces that measure 17” (wide) x 13” long
Liner: 2 pieces that measure 17 x 13”
Fusible Fleece: 4 pieces that measure 17 x 13”
Strap: 1 piece 17 x 6”
Fusible Fleece: 17 x 6”
For the 2 piece (Blue Checkered)
Exterior: Top section: 17 x 3 x ¾”
Exterior: Bottom section: 17 x 10 ¼”
The rest of the pieces measure the same as above.
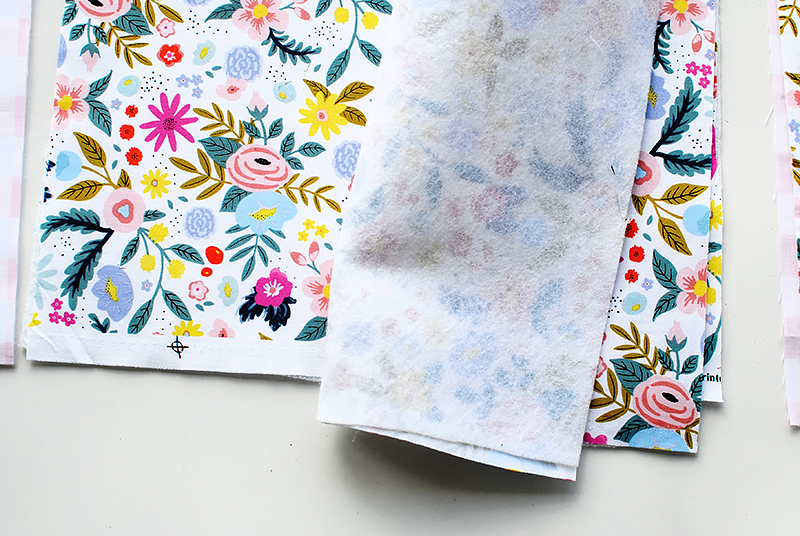
Fuse the fusible fleece to the wrong side of all pieces.
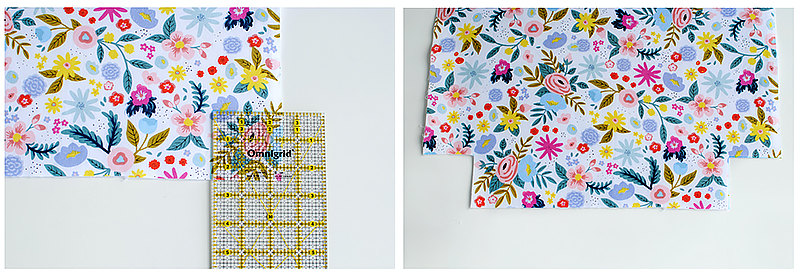
Use a grid ruler and mark off a 3” square at the bottom corners for both exterior and liner and cut.
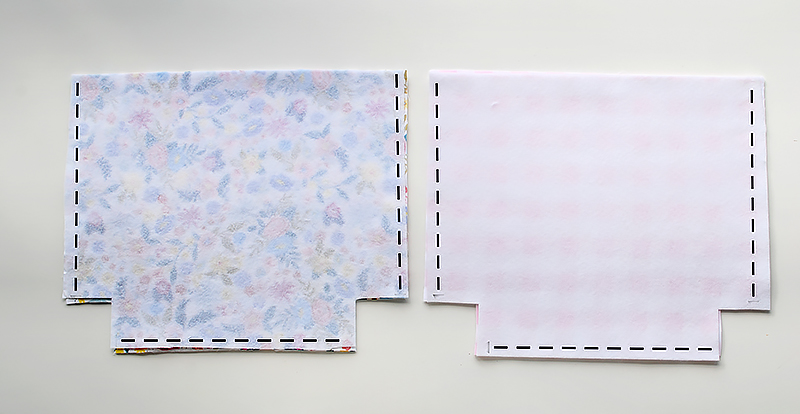
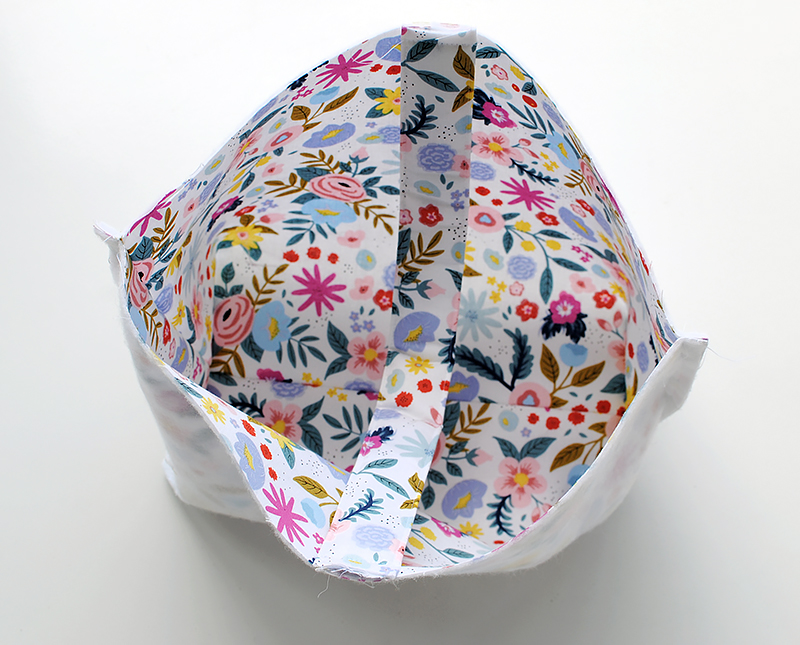
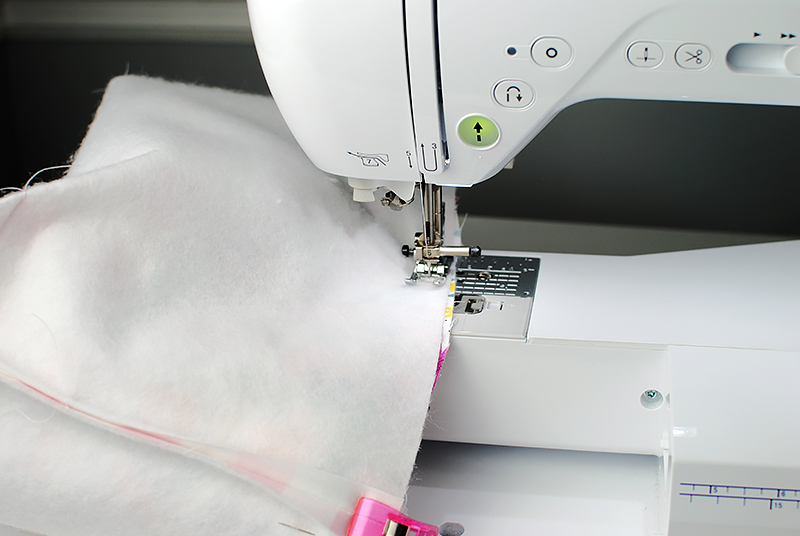
Place exterior and liner pieces right sides together. Stitch the sides and bottoms with a 1/2” seam allowance.

For the corners: With right sides together, connect the seam so it’s centered to the other side and clip or pin.
Stitch together and repeat for all corners. (1/2” seam allowance).
The bottom should look like this when complete.
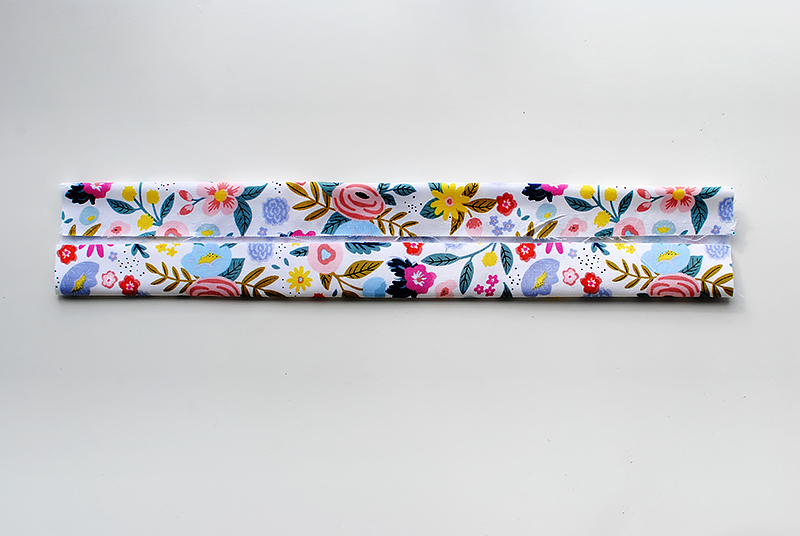
Now let’s sew the handle.
Fuse the fleece to the wrong side.
Fold the sides into the center and press.
Fold in half so the edges are together and press.
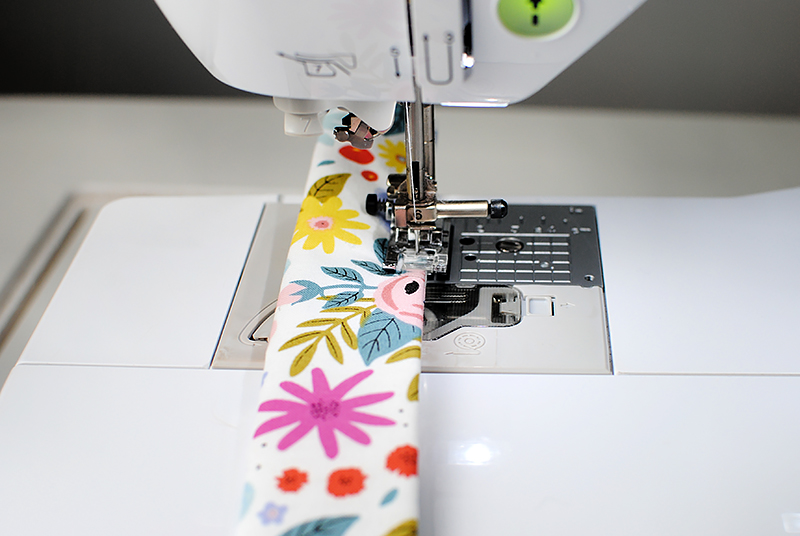
Top stitch down both sides (about 1/8” from the edge).
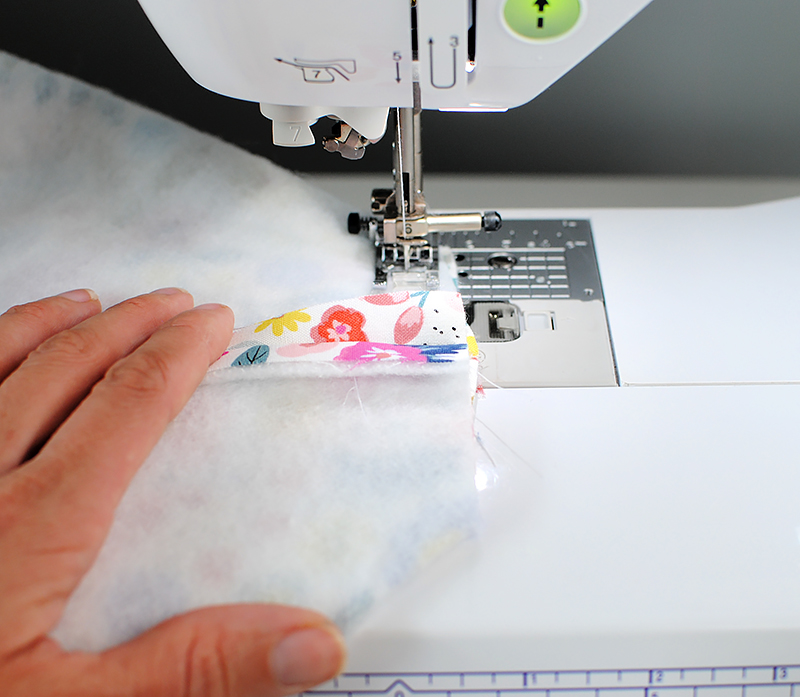
Find the center front and center back of the basket and mark. Place the handle right sides together with the basket over those marks and sew (1/4” seam allowance).
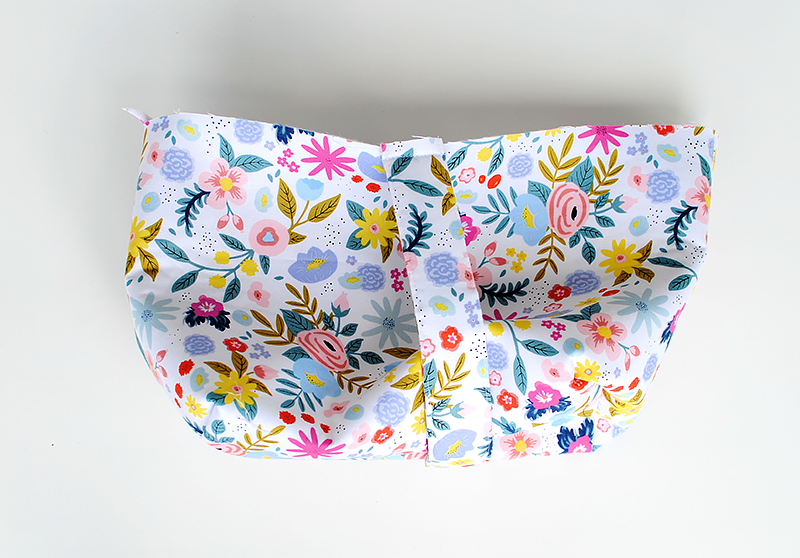
Flip the basket so right sides are out including the handle.
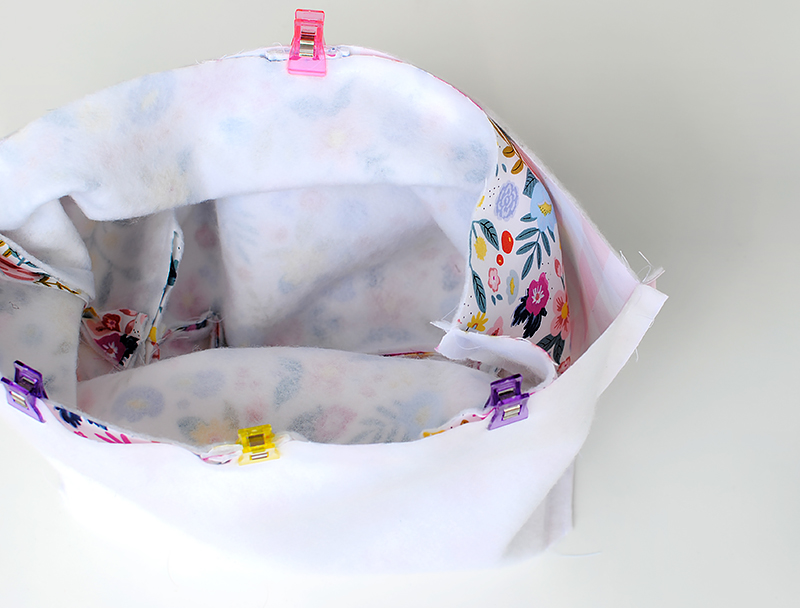
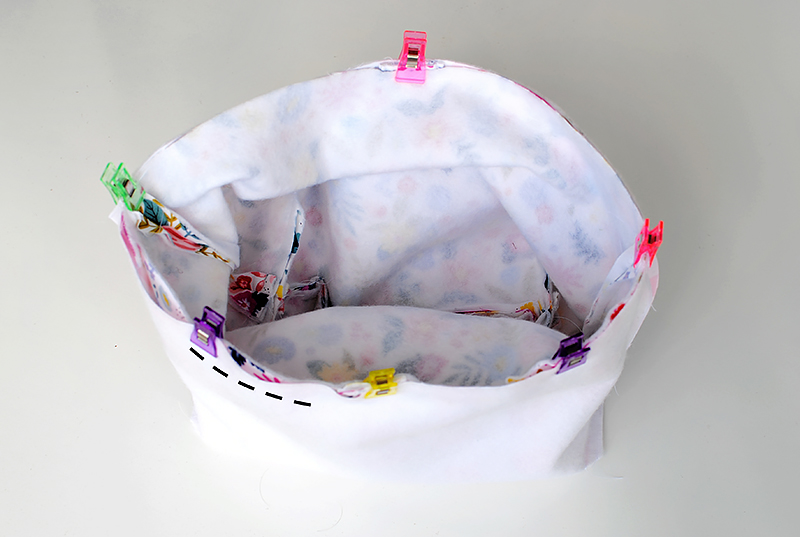
Place the basket into the liner so the right sides are together. Attach seams to seams and pin or clip all the way around.
Sew ½” seam allowance all the way around the edge leaving a 3” opening just an inch off one of the handles. This will be the opening to flip right sides outs.
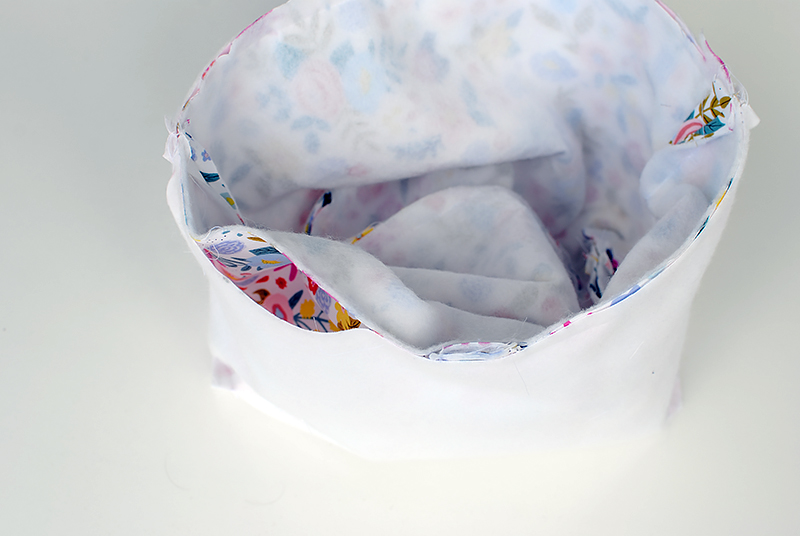
Flip right sides out through the opening.
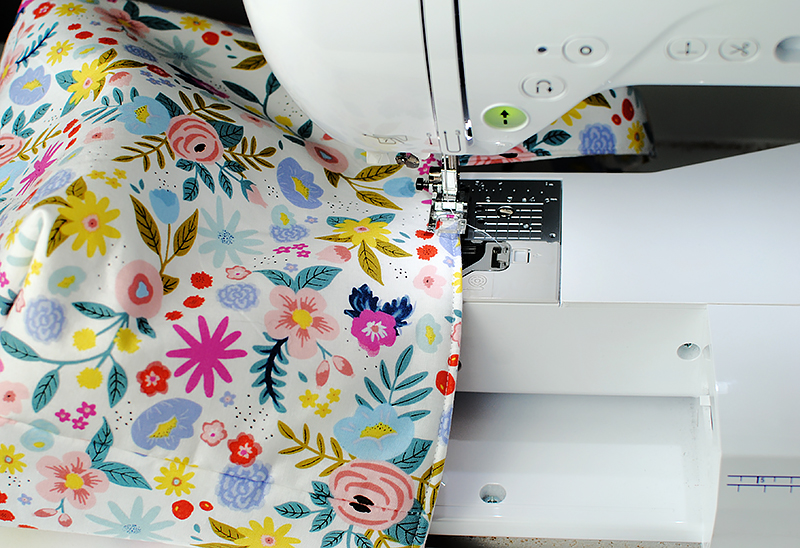
Press the basket. Top stitch with a 3.0 stitch length and just off the edge (1/8” or so) around the top edge of the basket, closing the opening as well.
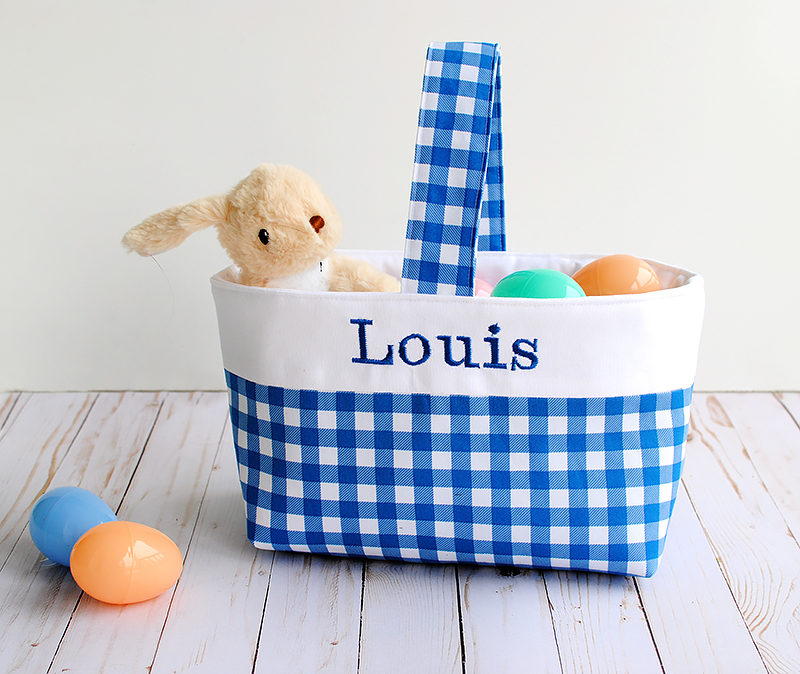
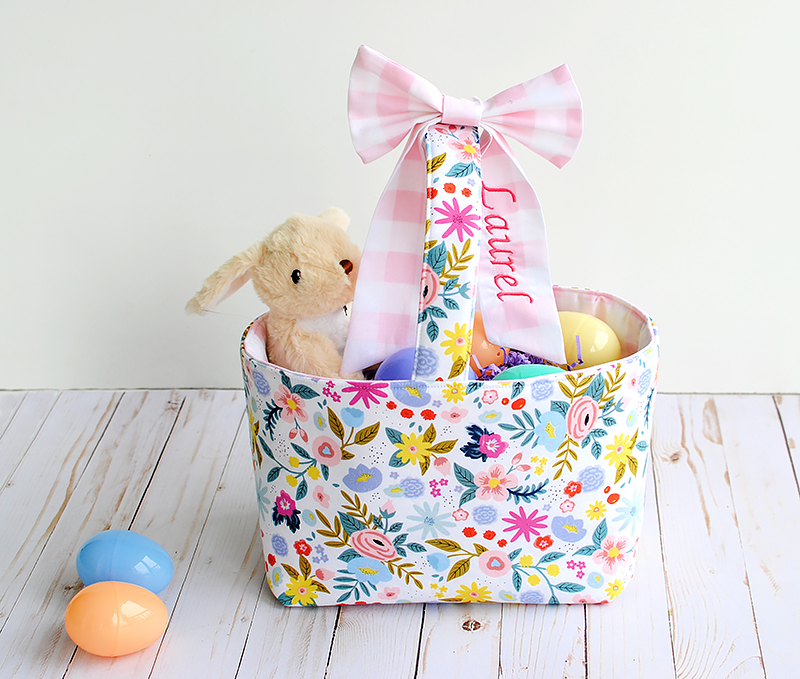
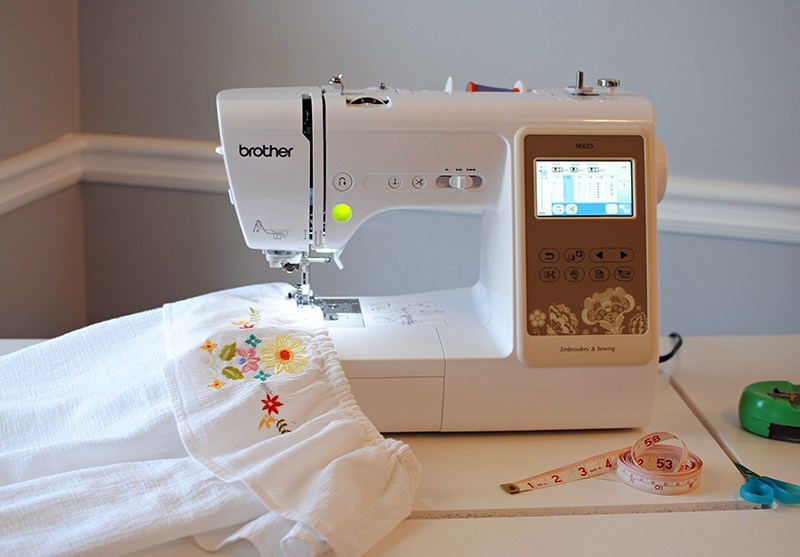
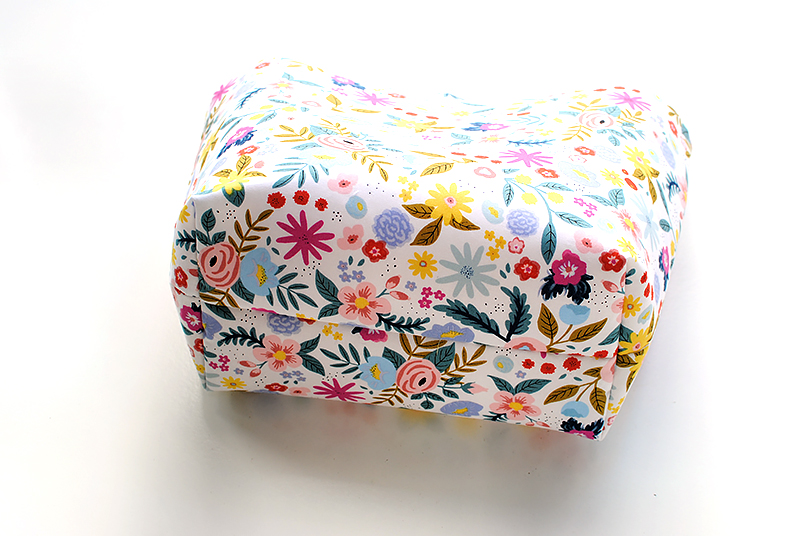
Now fill your homemade gift basket with all sorts of goodies. I sew these fabric baskets for gifts, but they’re also great to use as homemade storage bins. You can add some machine embroidery to customize them. For the blue checkered basket, I embroidered the name on the top section. You can use this tutorial here for that portion. I also embroidered a sash to tie around the floral basket. Make these for all different occasions: I love sewing them for party favors, Mother’s Day gifts, and more. Use your imagination and take your homemade gift baskets to the next level of fun.
This article has been republished from Brother Sews USA.
The original article can be seen here: http://blog.brothersews.com/projects/sew-a-fabric-easter-basket/