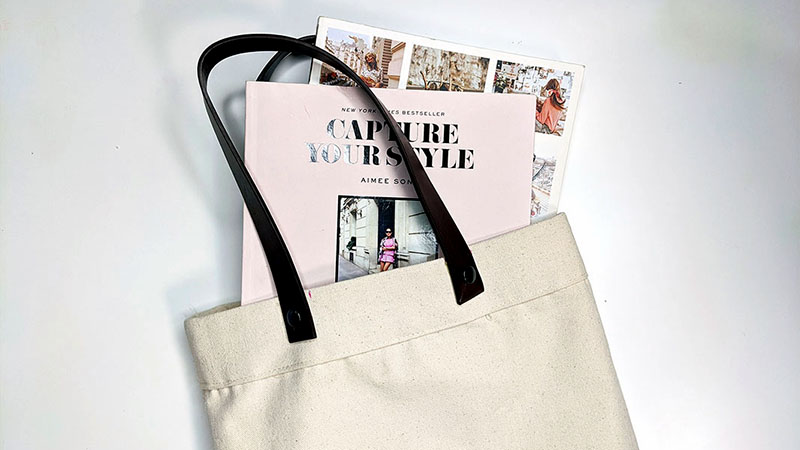
I wanted to share with you all how you can take a basic sewing pattern and use it as inspiration to create the look you want. Before I start a crafting project, I have already found an inspiration photo that I want the final product to look like. I take that photo and then find or create a design pattern that looks similar to the one I aspire to make. From there, I purchase the materials based on my inspiration photo (with a few tweaks in color to match my style and my personality).
This DIY tote bag is a two-part project. I’d love for you to check out how you can customize this tote bag and make it your own. Click the link below for the second part to this post.
http://blog.scanncut.com/monogram-tote-bag
SUPPLIES:
- Canvas
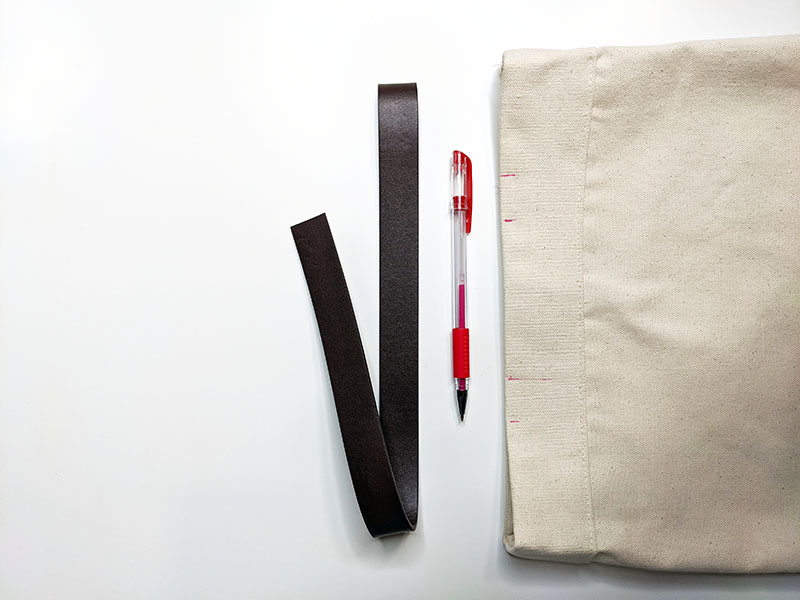
- Leather Strap
- Rivets
- Measuring tape and/or ruler
- Pen or pencil to create your pattern (dimensions included in this post)
- Heavy Duty Snap Pliers
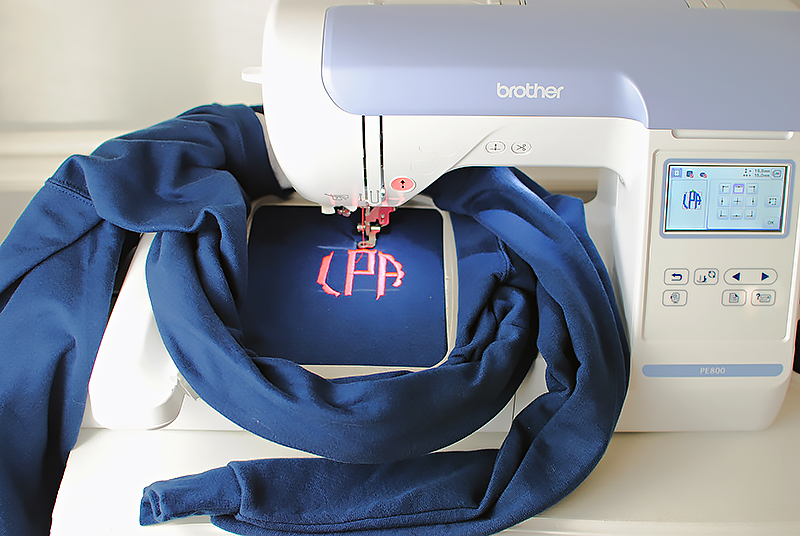
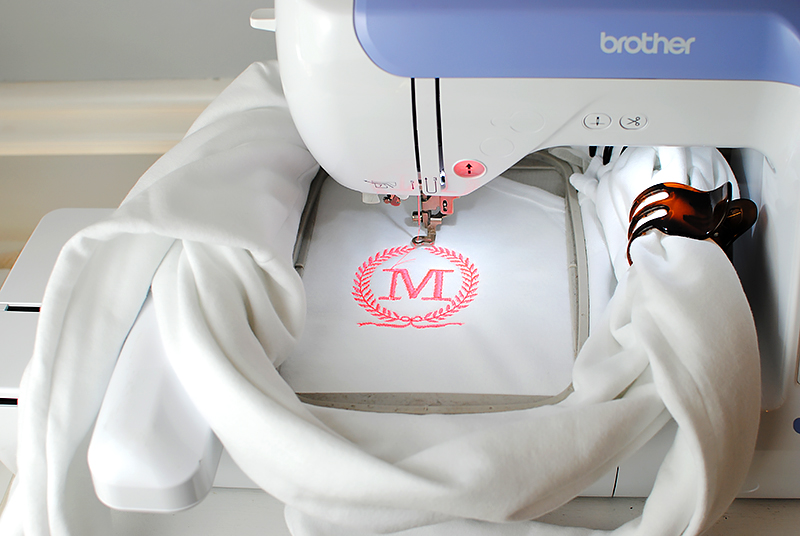
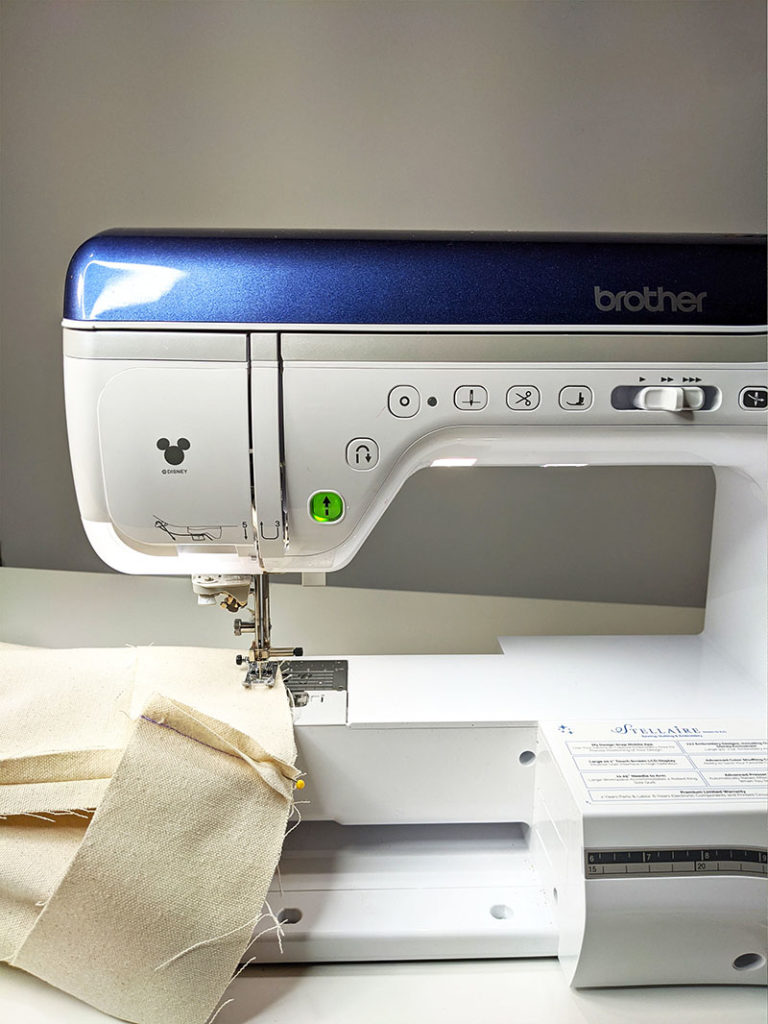
- Brother Sewing Machine
INSTRUCTIONS:
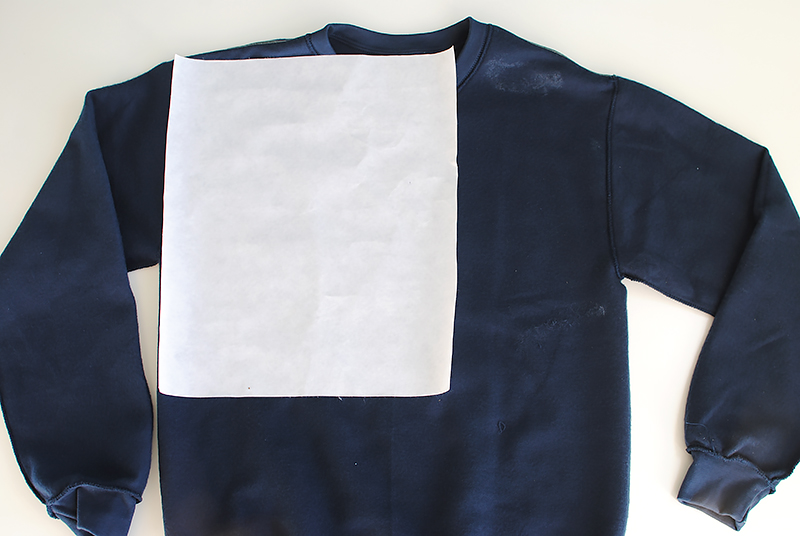
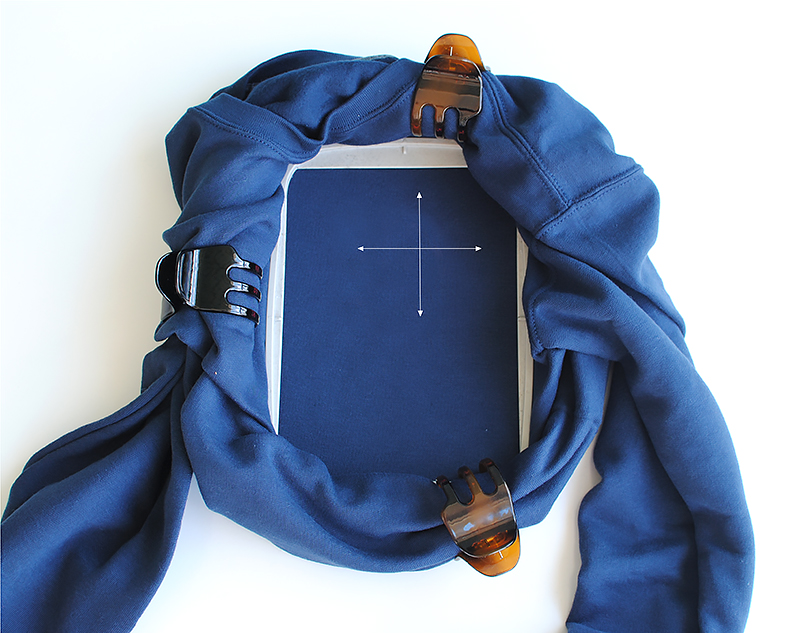
- Create your pattern according to the measurements given (or draw right on your fabric with a removable pen or chalk).
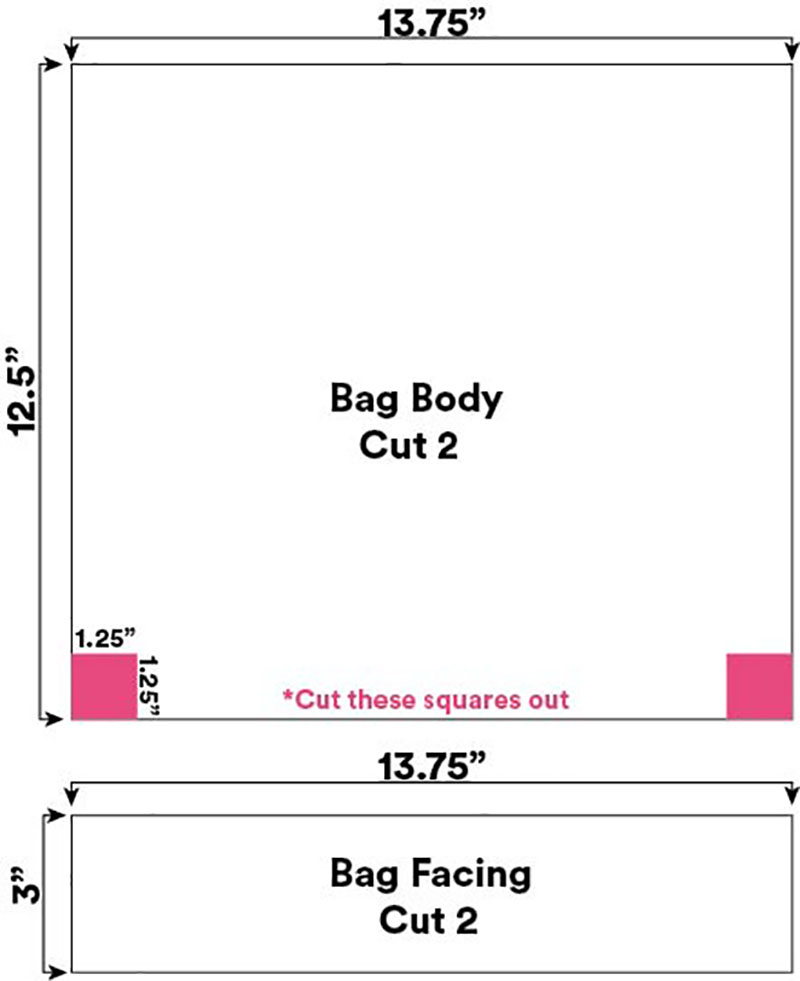
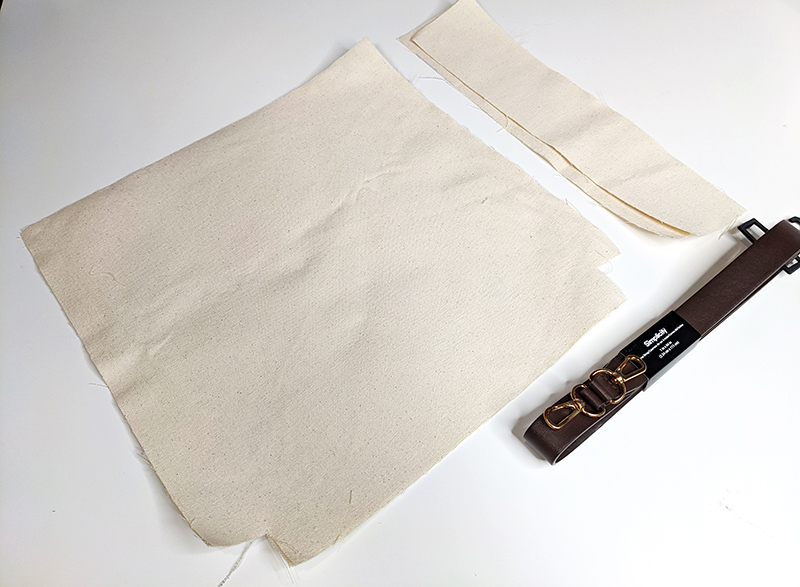
- Cut out your bag pieces (2 main body, 2 facing)
- Starting the with the main body of the tote bag, with right sides facing, sew the side seams and the bottom of the bag.
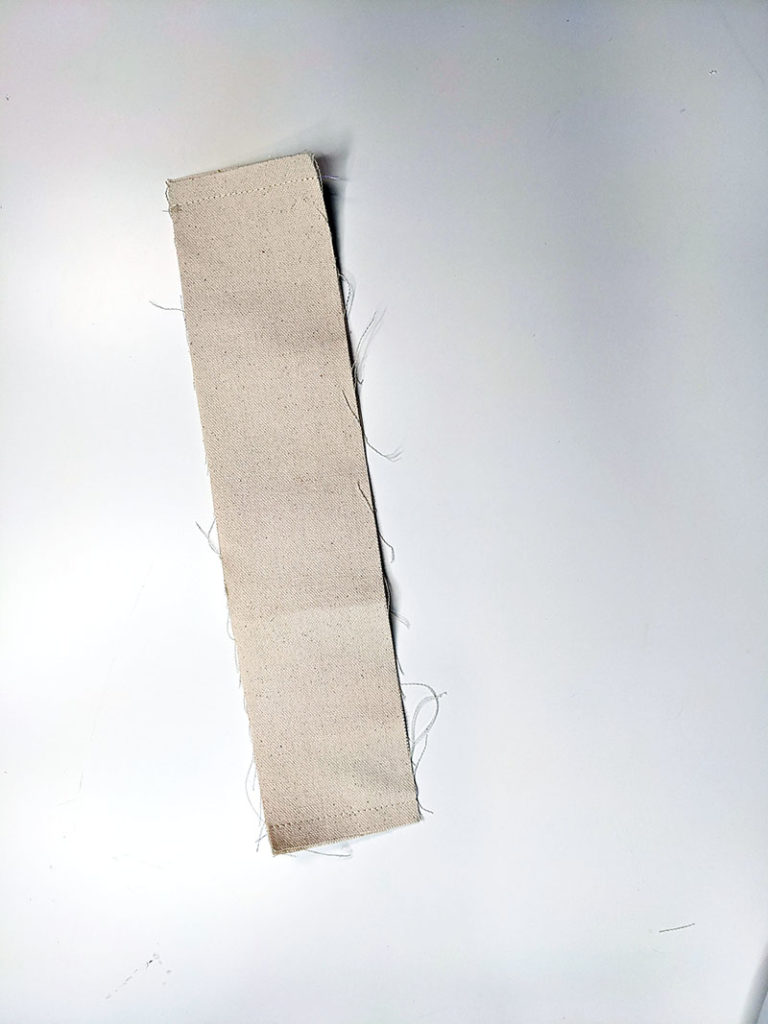
- Take the facing and sew down the sides. Make sure the right side of the fabric is facing each other.
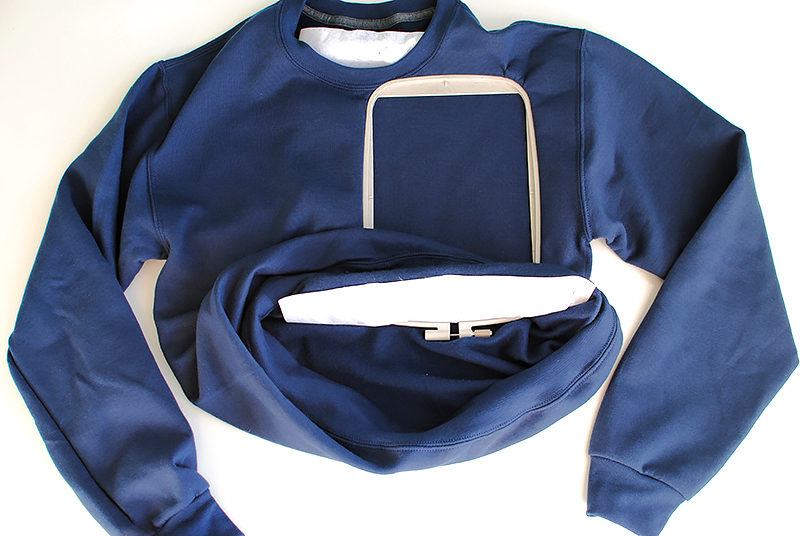
- With the wrong side of the bag facing out, attach the Facing to the top of the bag. The right side of the Facing should be facing the wrong side of the bag. (See image) Sew in place.
- Turn your bag right side out and pull the facing to the outside. Press the seam down.
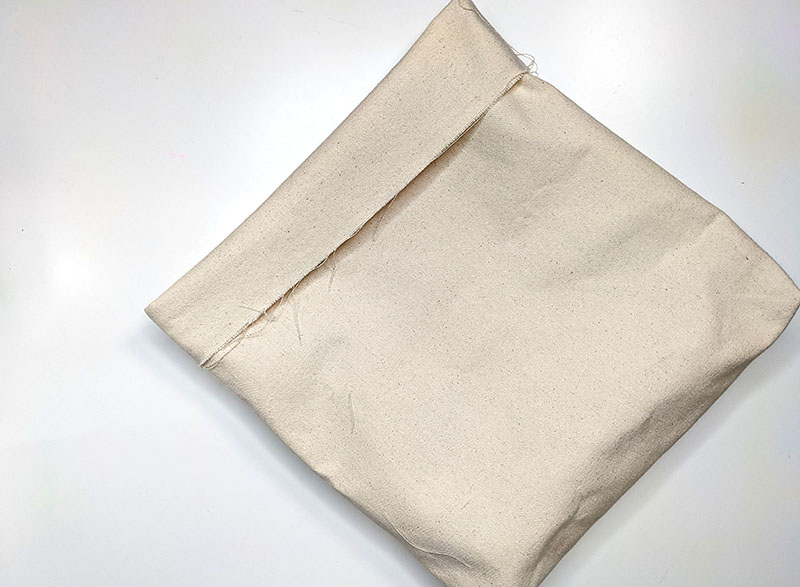
- Fold the facing under about 1/2” and press. Pin and stitch in place.
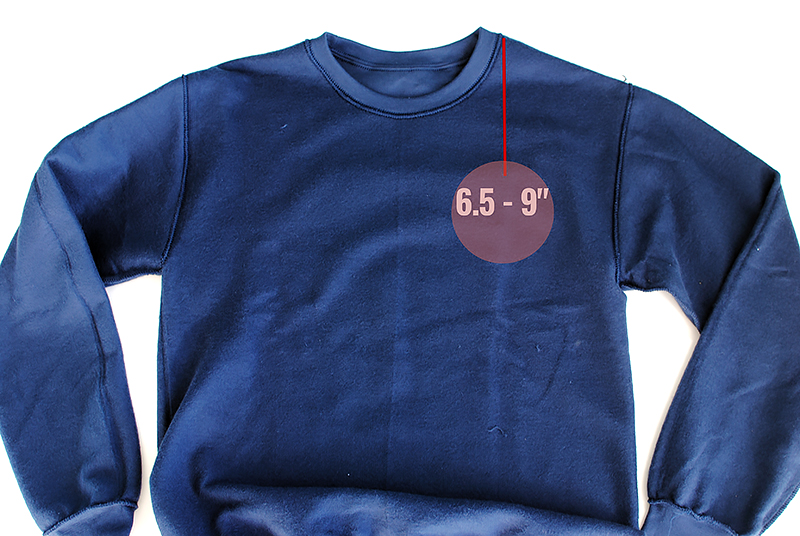
- It’s time to attach the handles! Before we do that. Mark the placement of your handles with a fabric marking tool. Markings remain the exact same on the opposite side.
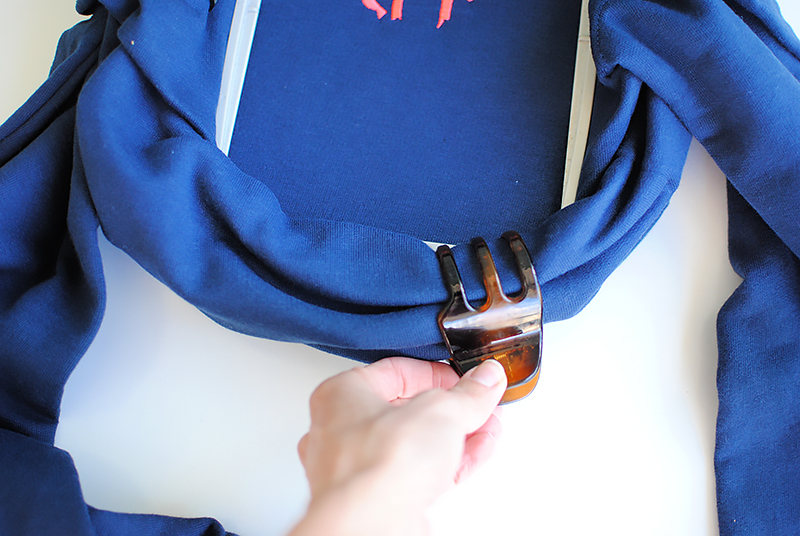
- Let’s move on to the rivets. With the rivets, you want to make sure you gather the correct rivet pieces for the handles on your DIY bag. You’ll need a front and back for the canvas and front and back for the leather.
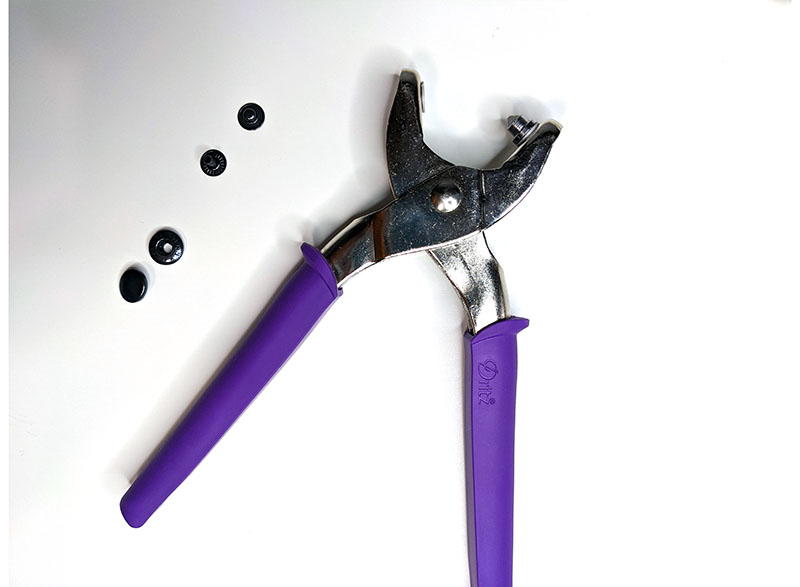
- You’ll connect the rivets to the bag and strap according to the instructions on the back of the rivet packaging. When connecting, you’ll need the snap pliers.
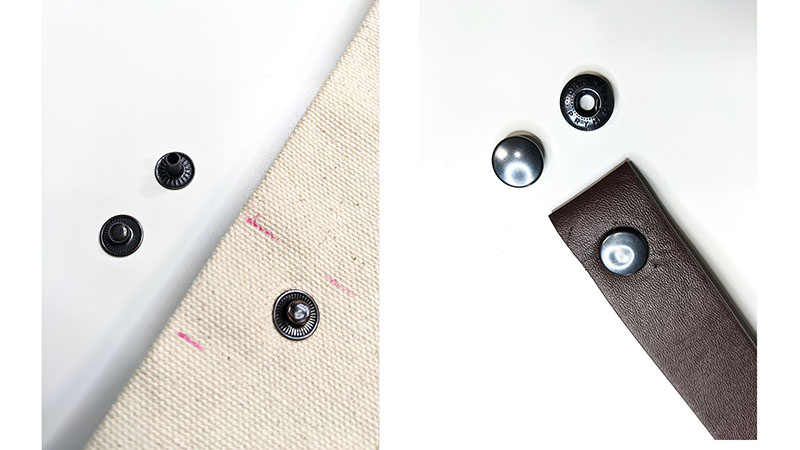
- That’s it!

This article has been republished from Brother Sews USA.