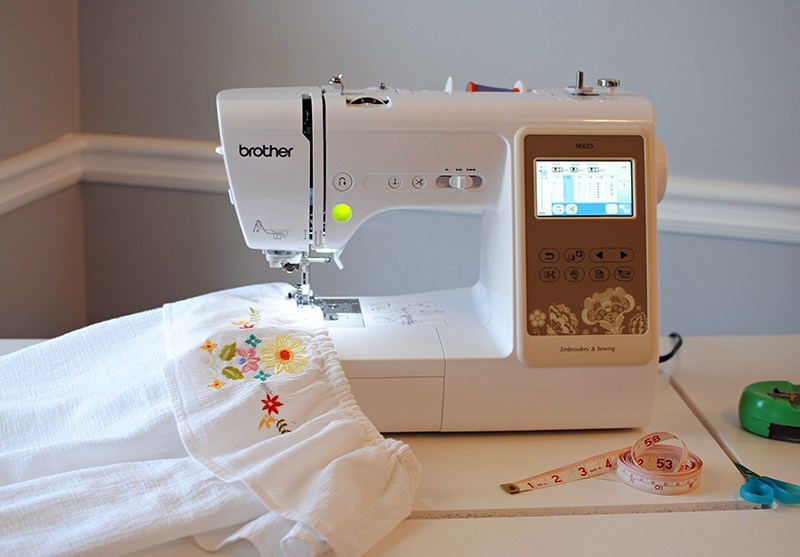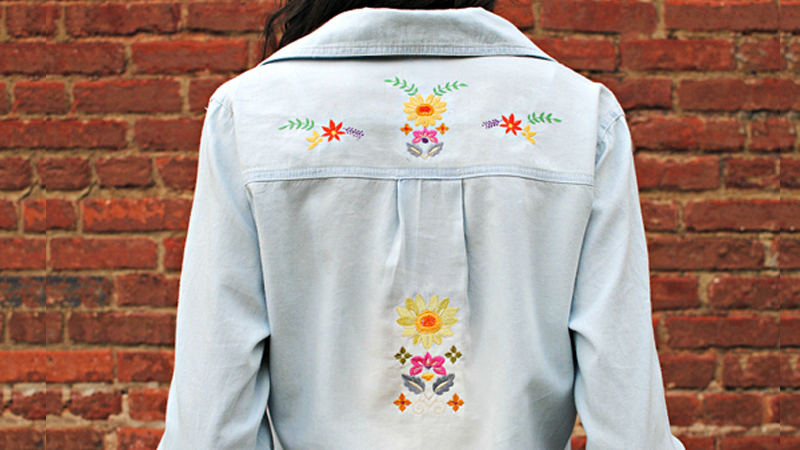
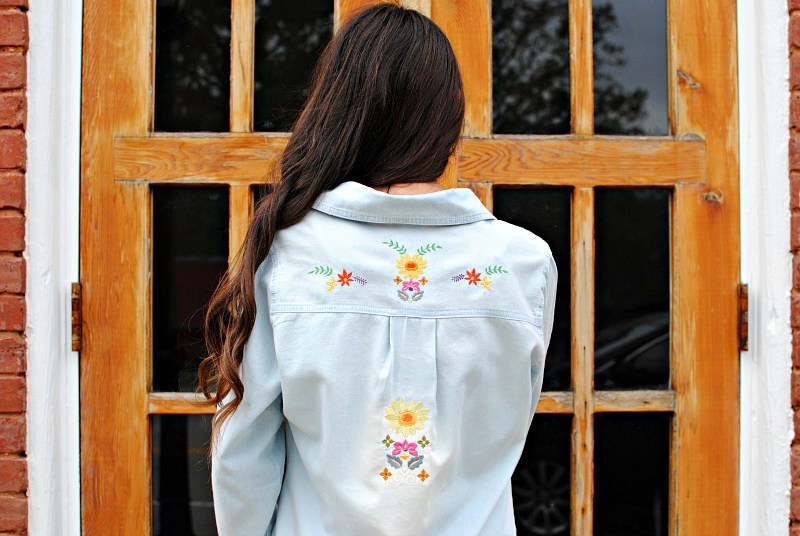
Hello everyone. Laura here from Trash to Couture. For this post, I will share with you how to embroider onto a collared shirt with the Brother SE625 Sewing and Embroidery Machine. This is a great way to update old or boring clothing. The SE625 has a set of built in floral patterns that I will be using on this denim shirt. Get the details below on how to embroider you own custom look.
Supplies:
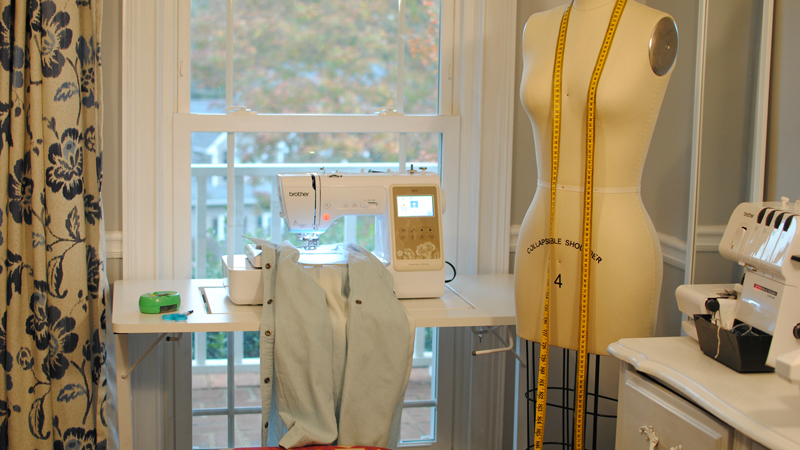
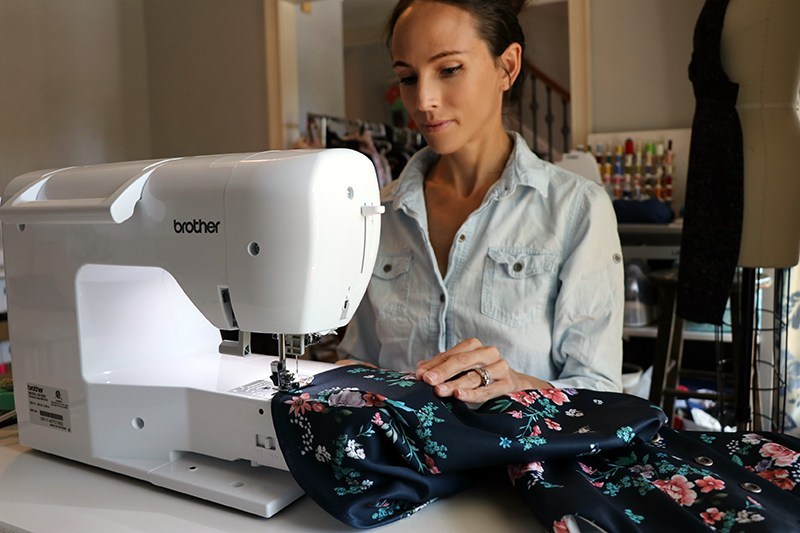
- Brother SE625 Sewing and Embroidery Machine
- Stabilizer: Choose the best one for your material
- Embroidery thread
- Embroidery pattern
- Shirt to embroider
- Marking tool
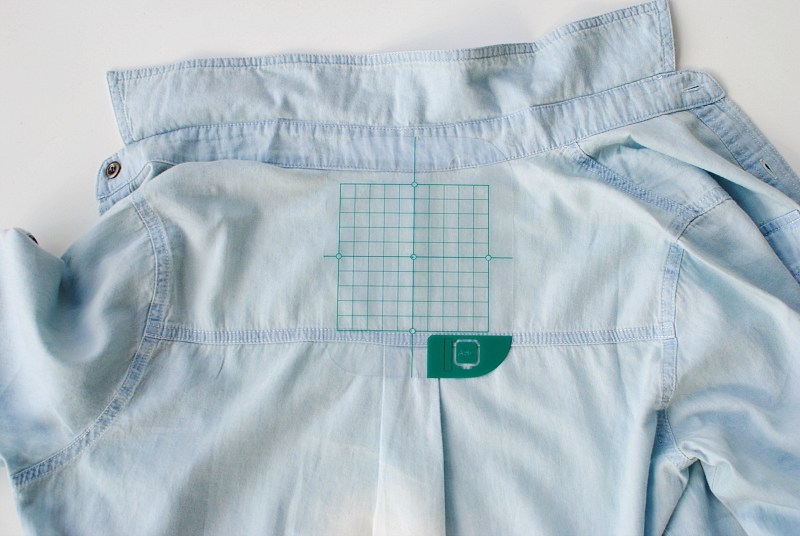
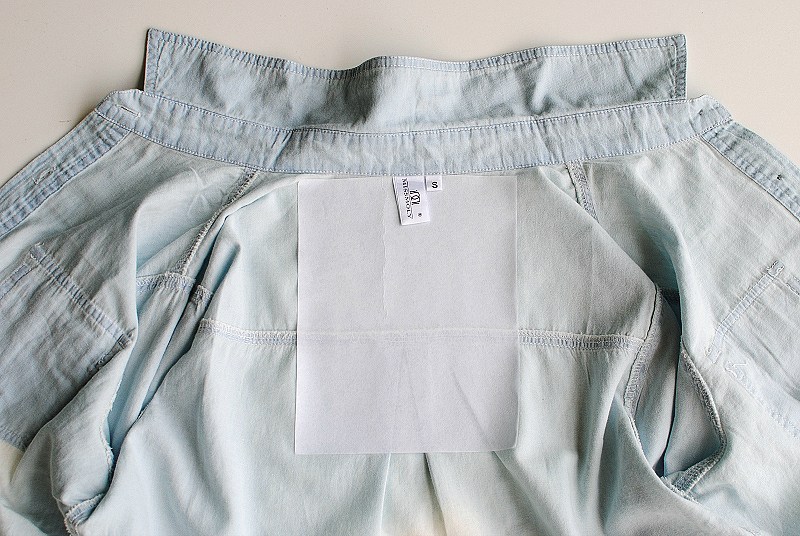
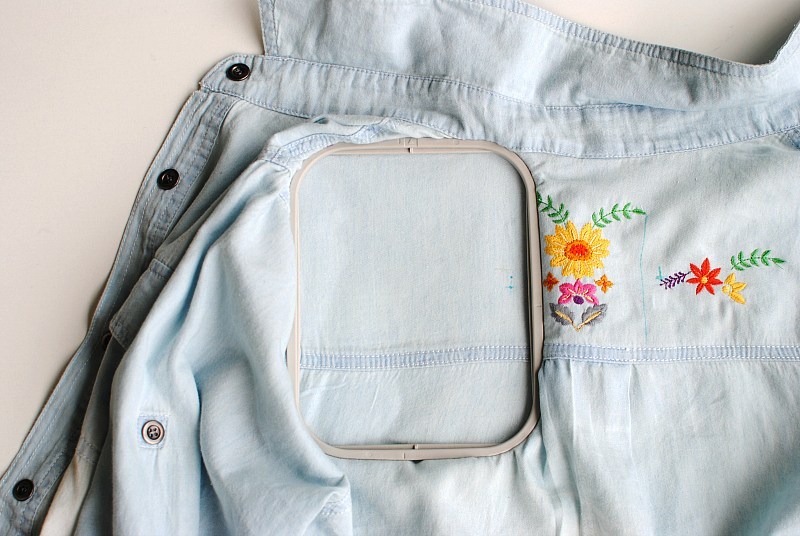
- Begin by pressing your garment. Then use the template to mark where you want your design to be. I mark both right and wrong sides with a fabric marking tool. Choose an area of the shirt that is flat. For this design, I will be using the yoke and the back panel.
Tip: Use a stabilizer that works with your fabric and place at least 1 inch over the markings. I love the ones that you can cut to measurement, peel and stick it right on.
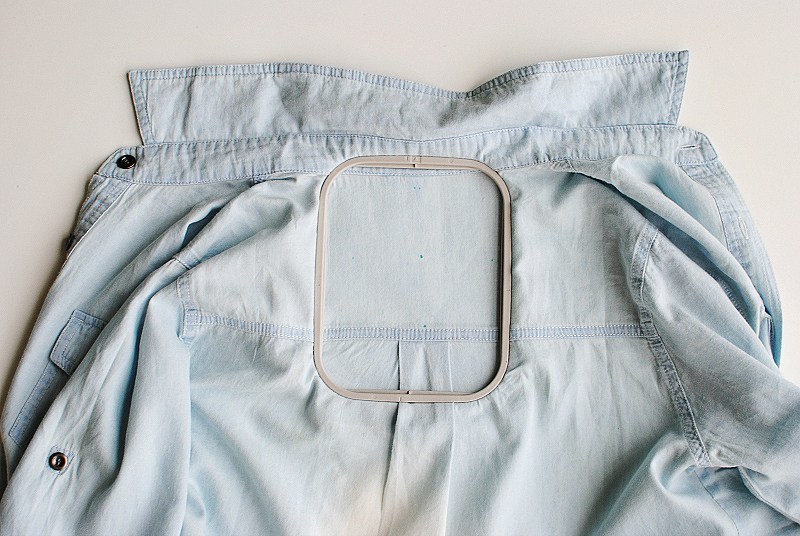
2. Hoop it. Hooping Tip: You don’t want it too tight or too loose. It should sound like a drum when tapping it.
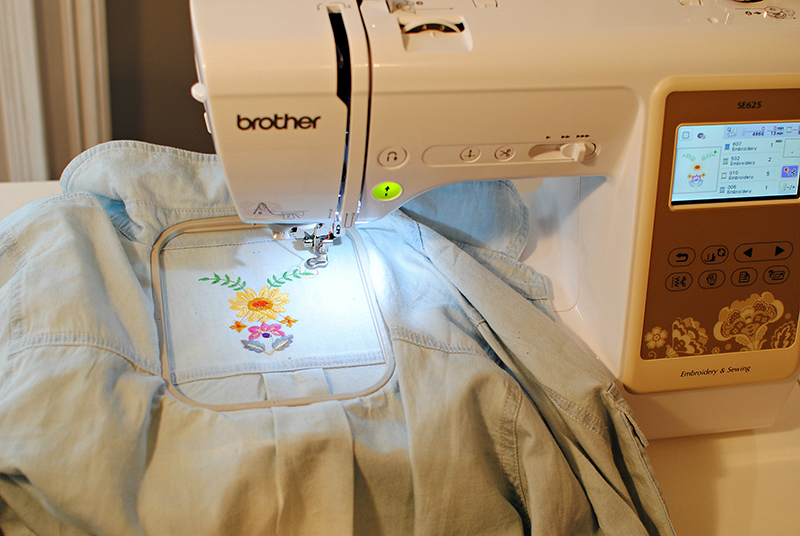
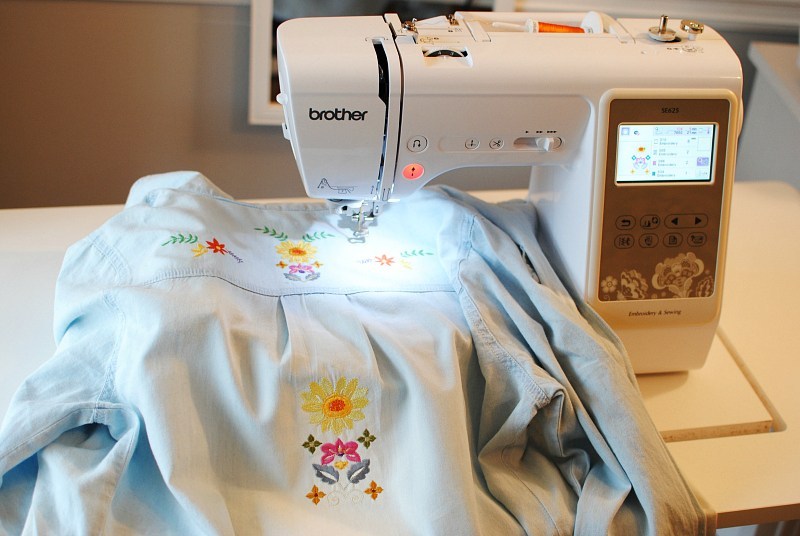
3. Set up your machine to embroider. You can adjust the size and placement of the pattern which makes it easy to place the design exactly where you want it.
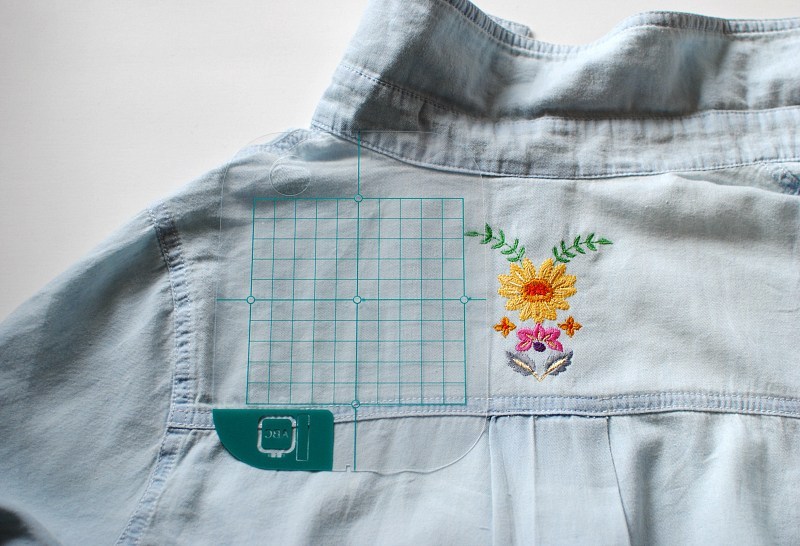
4. Once the first set of embroideries is complete, continue to repeat the previous steps for more designs wherever you’d like. The SE625 makes it easy to mirror images to create patterns like I did on the yoke.
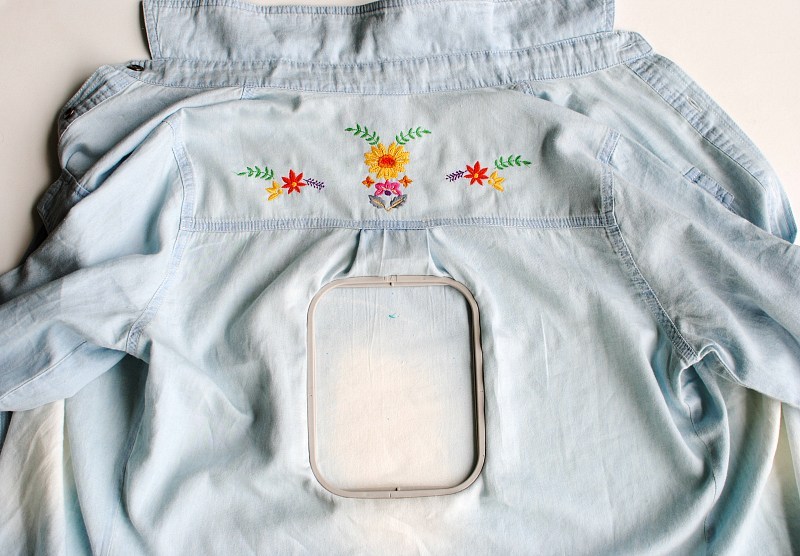
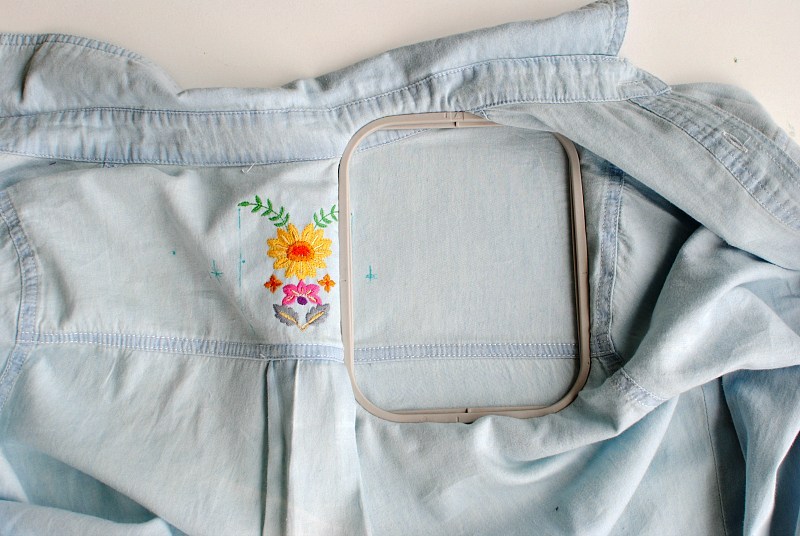
5. If the yoke isn’t enough, the back panel is another great place to embroider.
The options and ideas are endless on what you can add embroidery too! Watch my video to get the steps on how to embellish your shirt with embroidery:
Watch Video:
Speed simulated for demonstrative purposes. Actual speeds will vary.
This article has been republished from Brother Sews USA. The original article can be seen here: http://blog.brothersews.com/embroidery/embroider-shirt/